Renovating the shafts
In some cases, our team needs to call in additional help to ensure the future safety and operation of HADES. This is the case for the renovation projects of the shafts and hoisting installations, for which we rely on an additional project engineer and external contractors. Being excavated and installed in the early '80s, the first shaft already underwent a total renovation in 2021.
The second shaft, installed 25 years ago, will also be renovated in the coming years. This large project is currently being prepared and will ensure the safe operation of HADES in the decades to come.
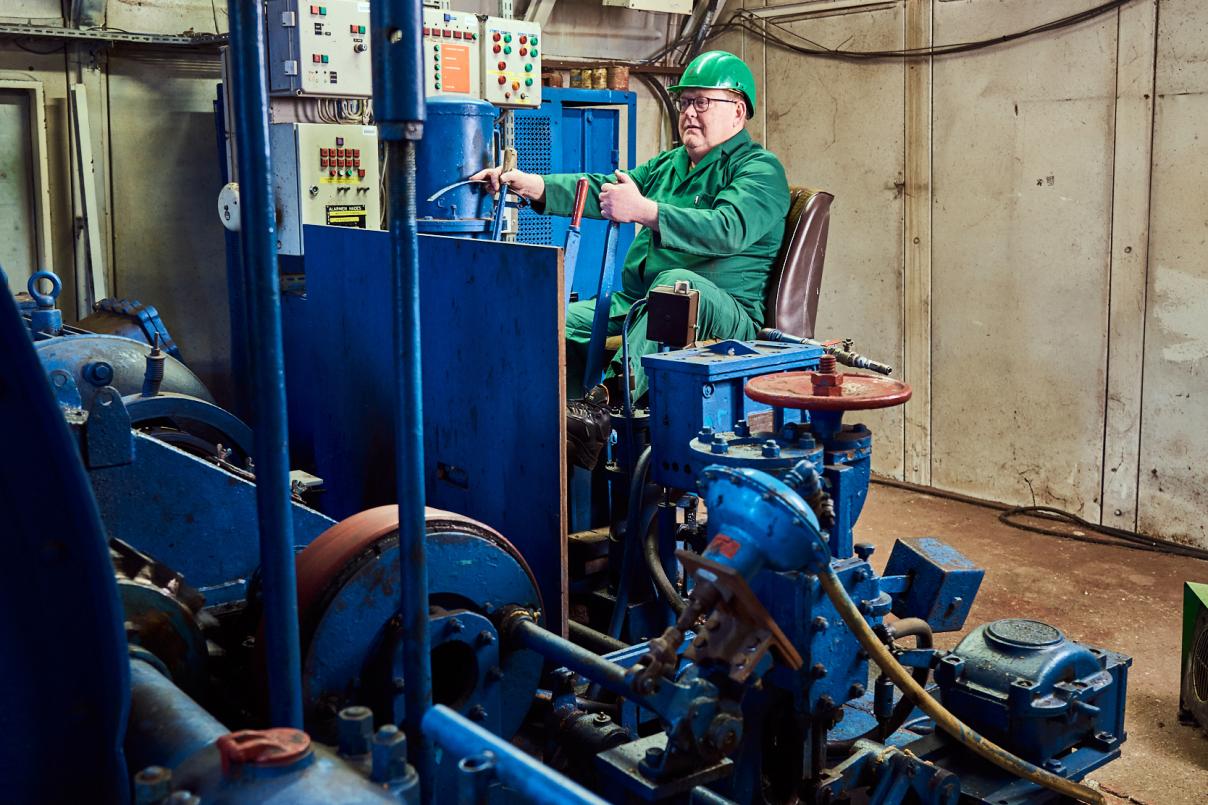
Shaft 1 renovation project
To modernize the first shaft of the HADES underground research laboratory, EURIDICE partnered with three expert contractors:
- Swinnen NV (Balen) – surface infrastructure works
- Spie Belgium (Geel) – technical installations such as electricity and HVAC (Heating, Ventilation, Air Conditioning)
- Thyssen Schachtbau (Germany) – renovation of the hoisting system and the shaft itself
The project was financed by NIRAS-ONDRAF, with a total investment of around €7 million.
This renovation marks a major milestone for HADES and EURIDICE. At the time, Peter De Preter was the director of EURIDICE. He explained:
The renovation is more than just an upgrade—it symbolizes the renewed commitment of NIRAS-ONDRAF and SCK CEN to EURIDICE and to advancing research into geological disposal.
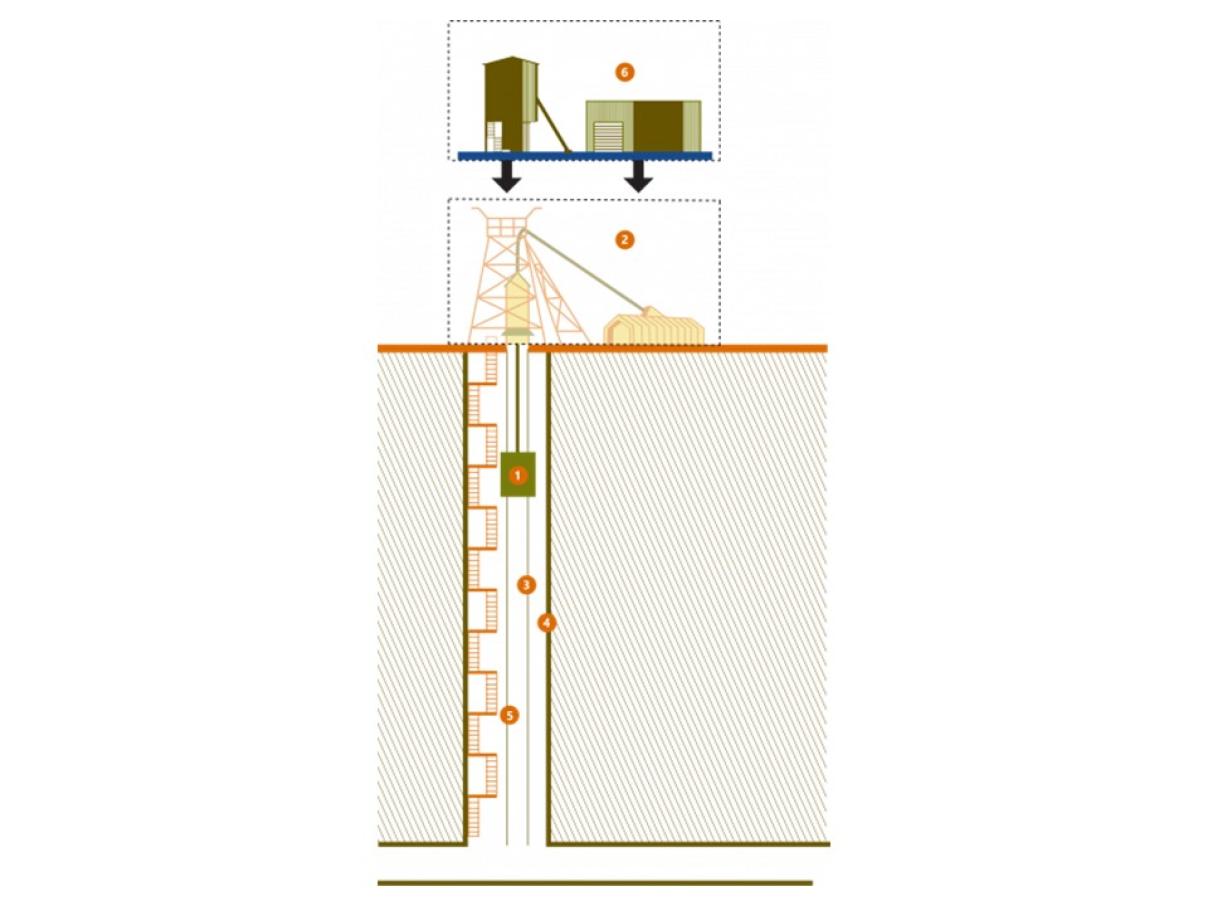
A fully renovated shaft in 7 steps
Step 1: Removing the hoisting cage and cable
First, the hoisting cage and the cable were retrieved from the shaft.
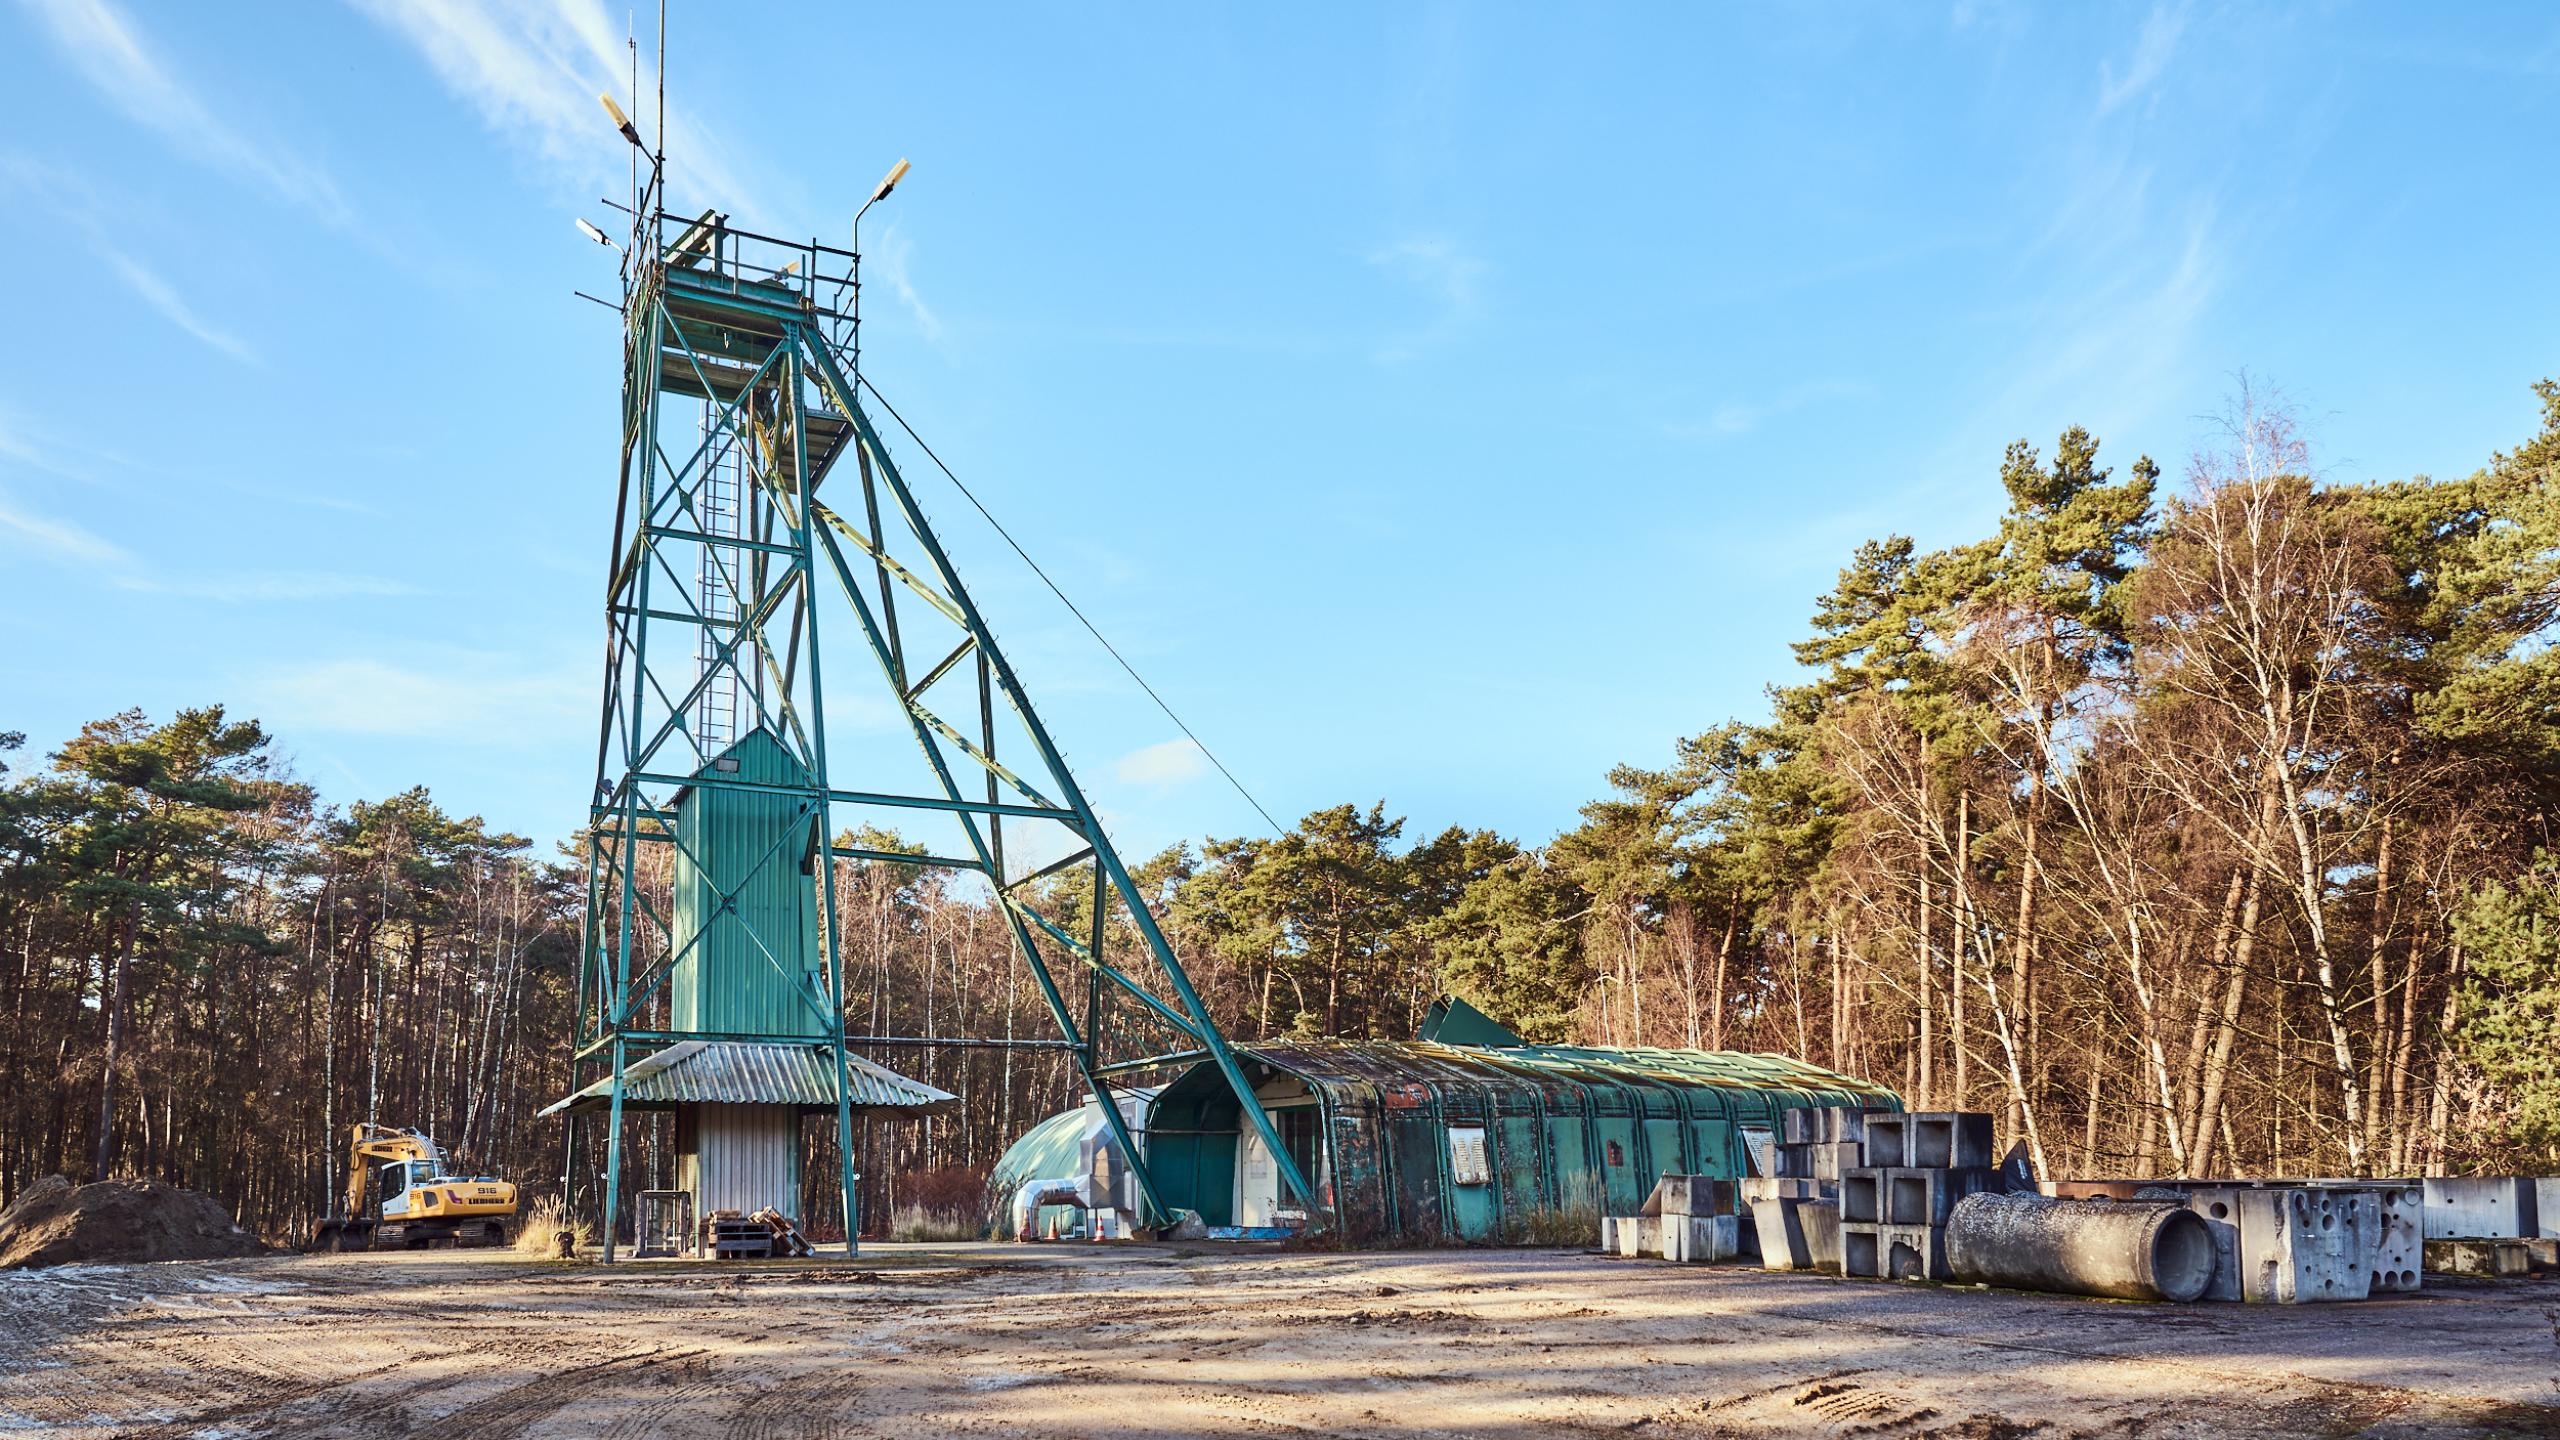
Step 2: Demolishing the tower
Next, the hoisting tower, machine room and electrical distribution centre were demolished.
Step 3: Dismantling the shaft
The caged ladder and the utility piping (including electricity, ventilation, data, water and compressed air) were removed, along with the vertical guide lanes for the hoisting cage.
Step 4: Repairing the concrete
The concrete wall was sprayed clean and repaired where necessary.
Step 5: New piping in the shaft
The contractors fitted new guide lanes for the main and emergency cage, ran electrical and data cables, fitted new compressed air and high-pressure water piping and renovated the ventilation channel.
Step 6: New hoisting building
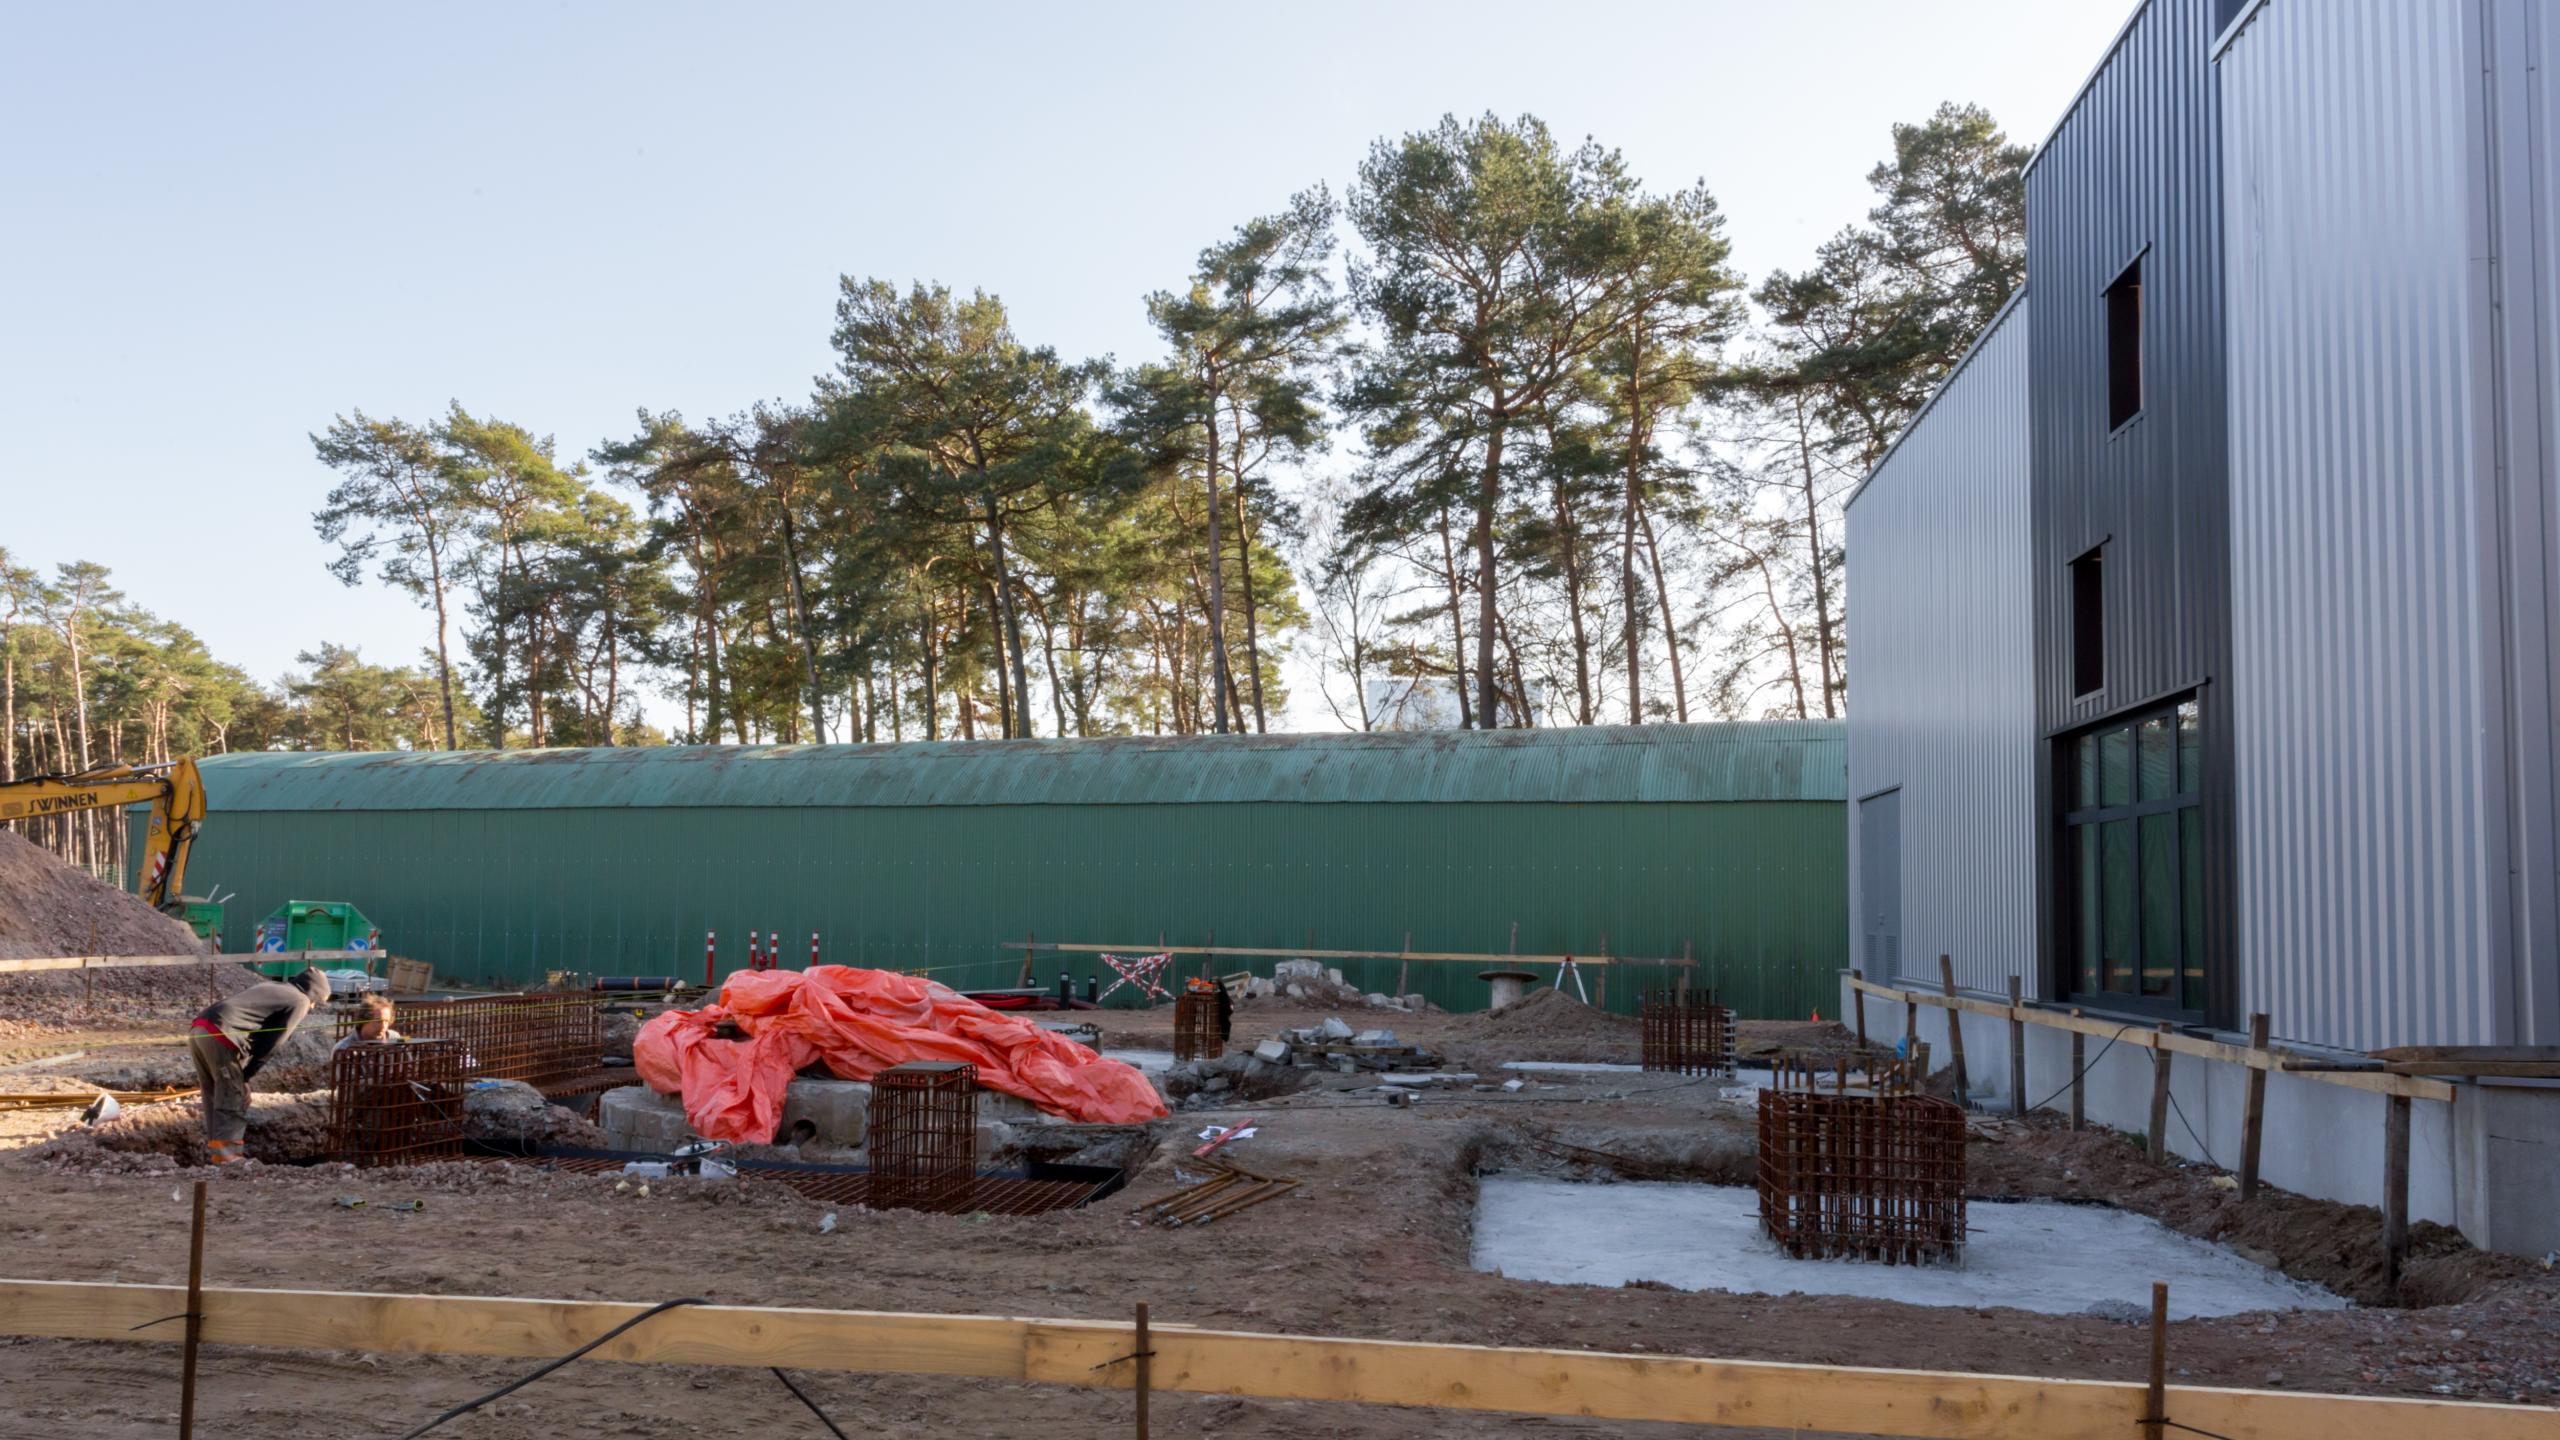
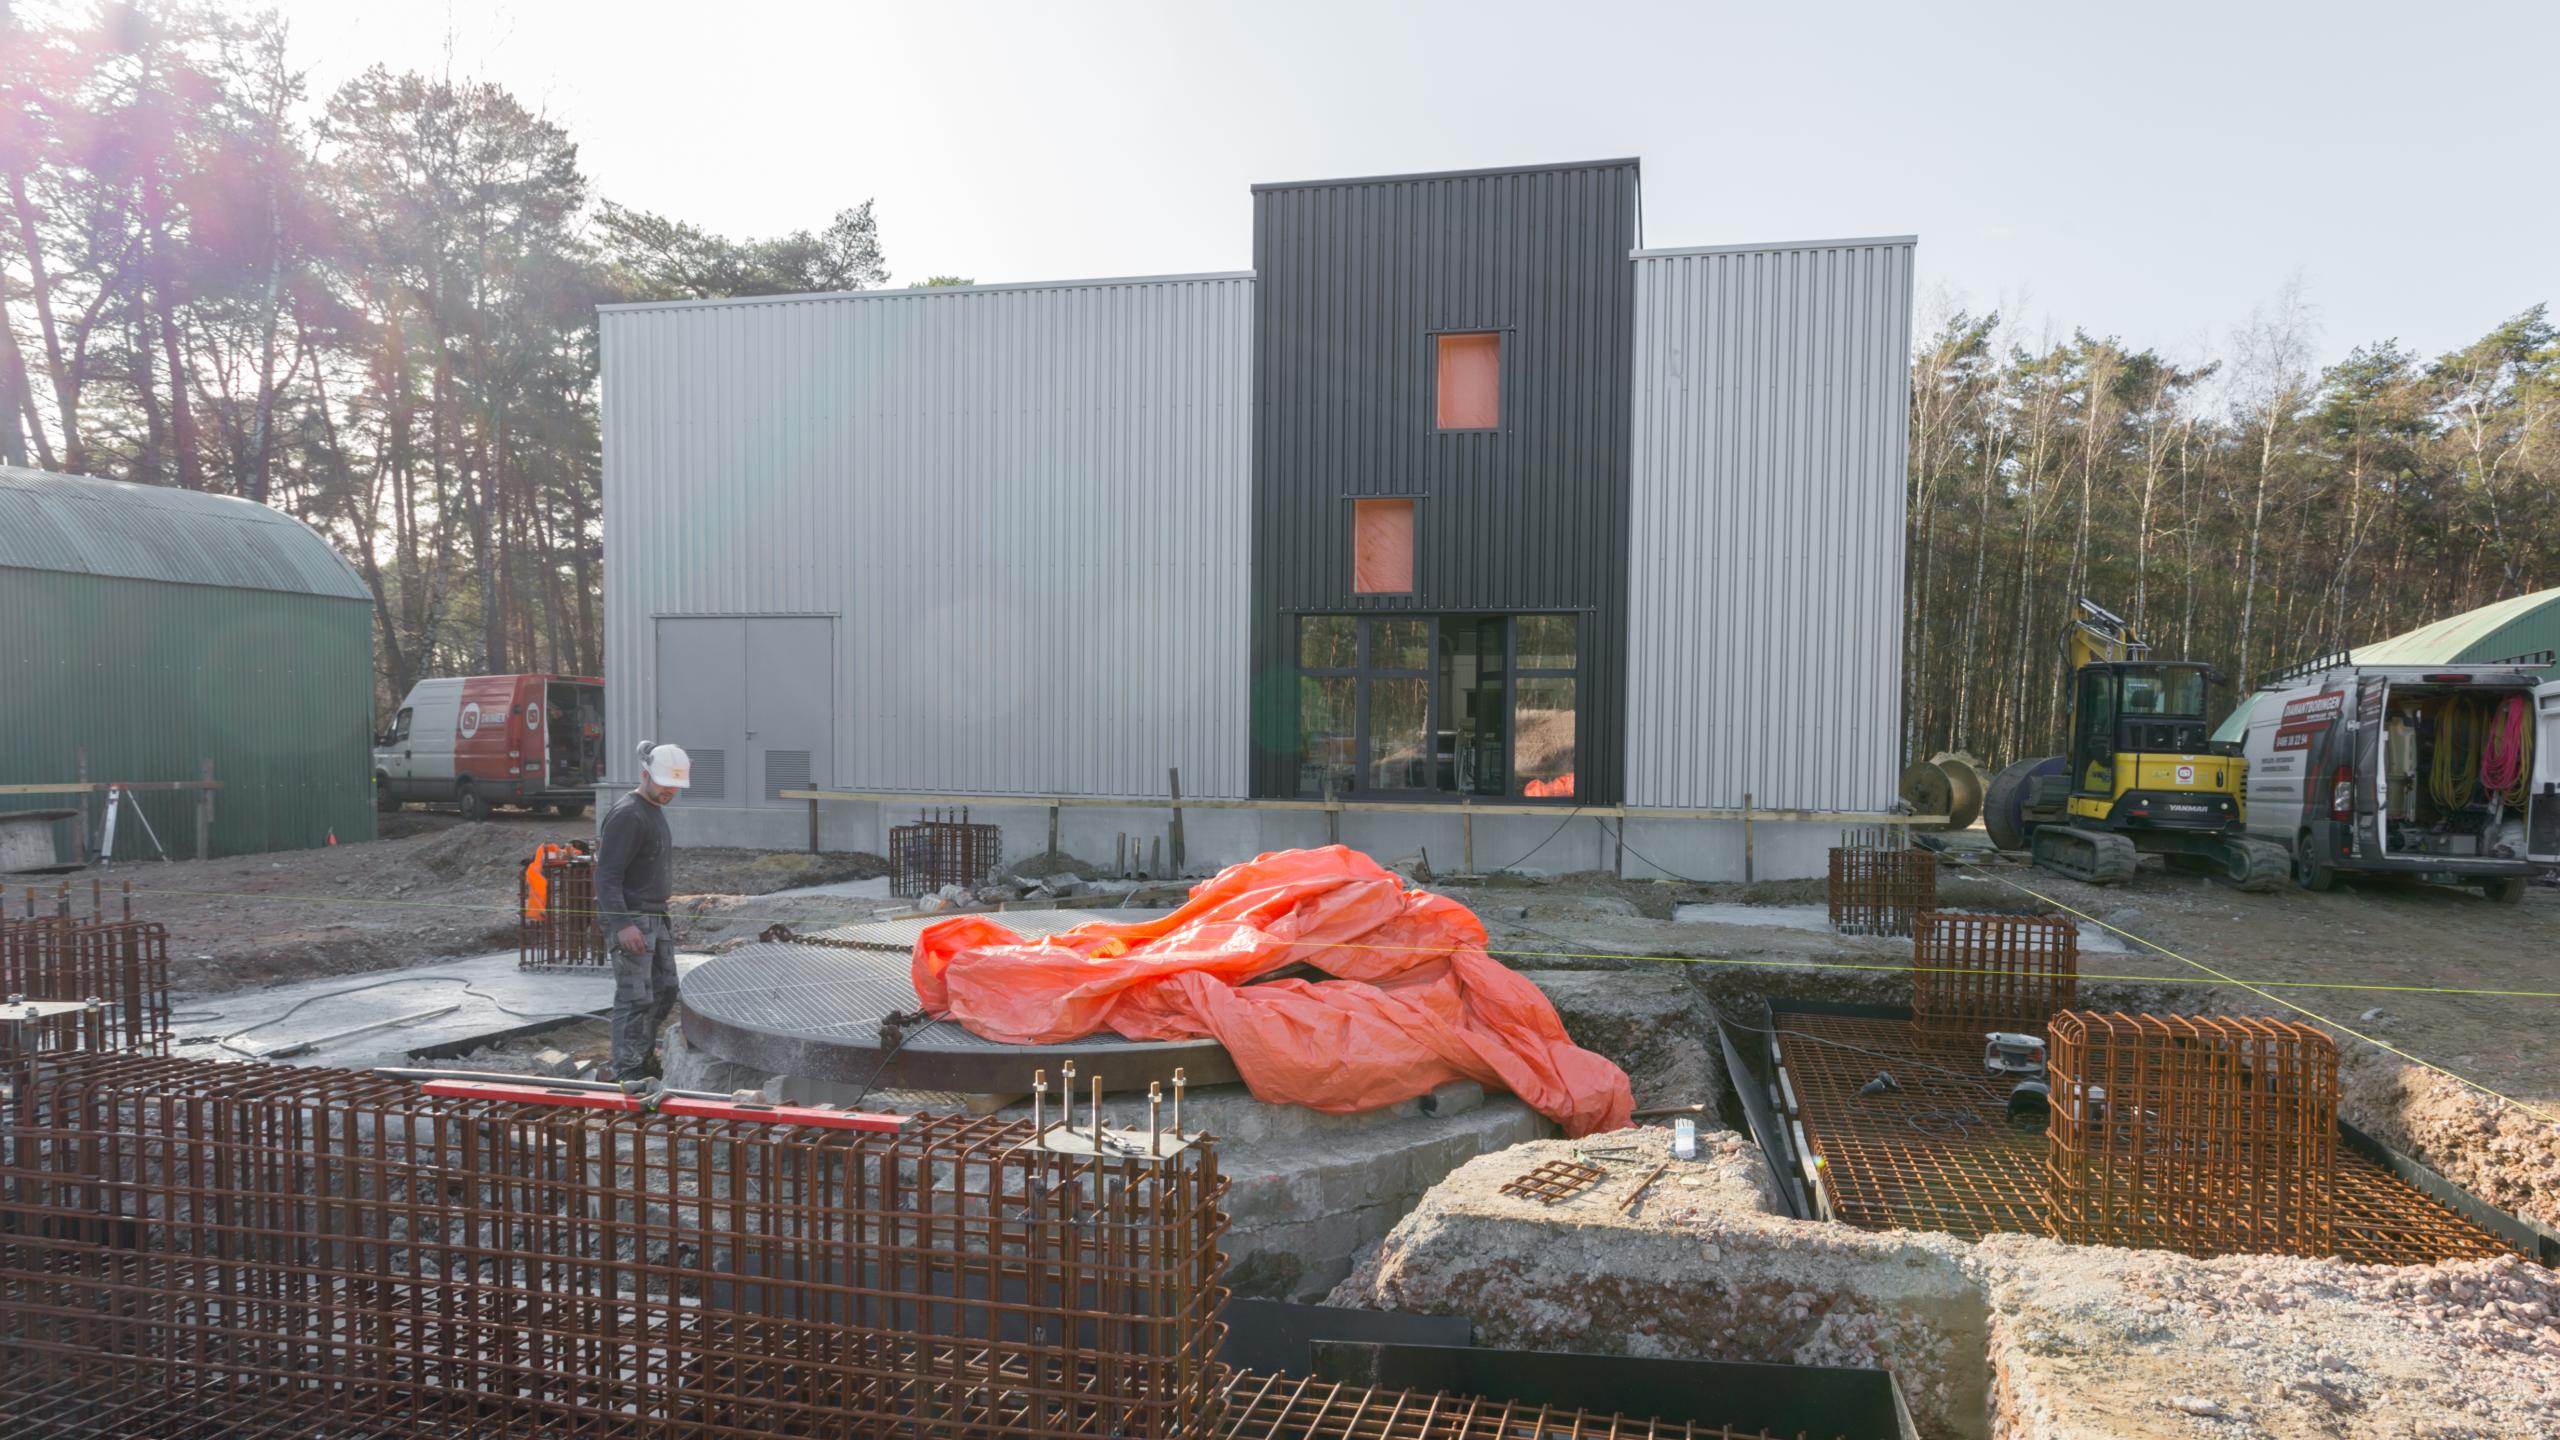
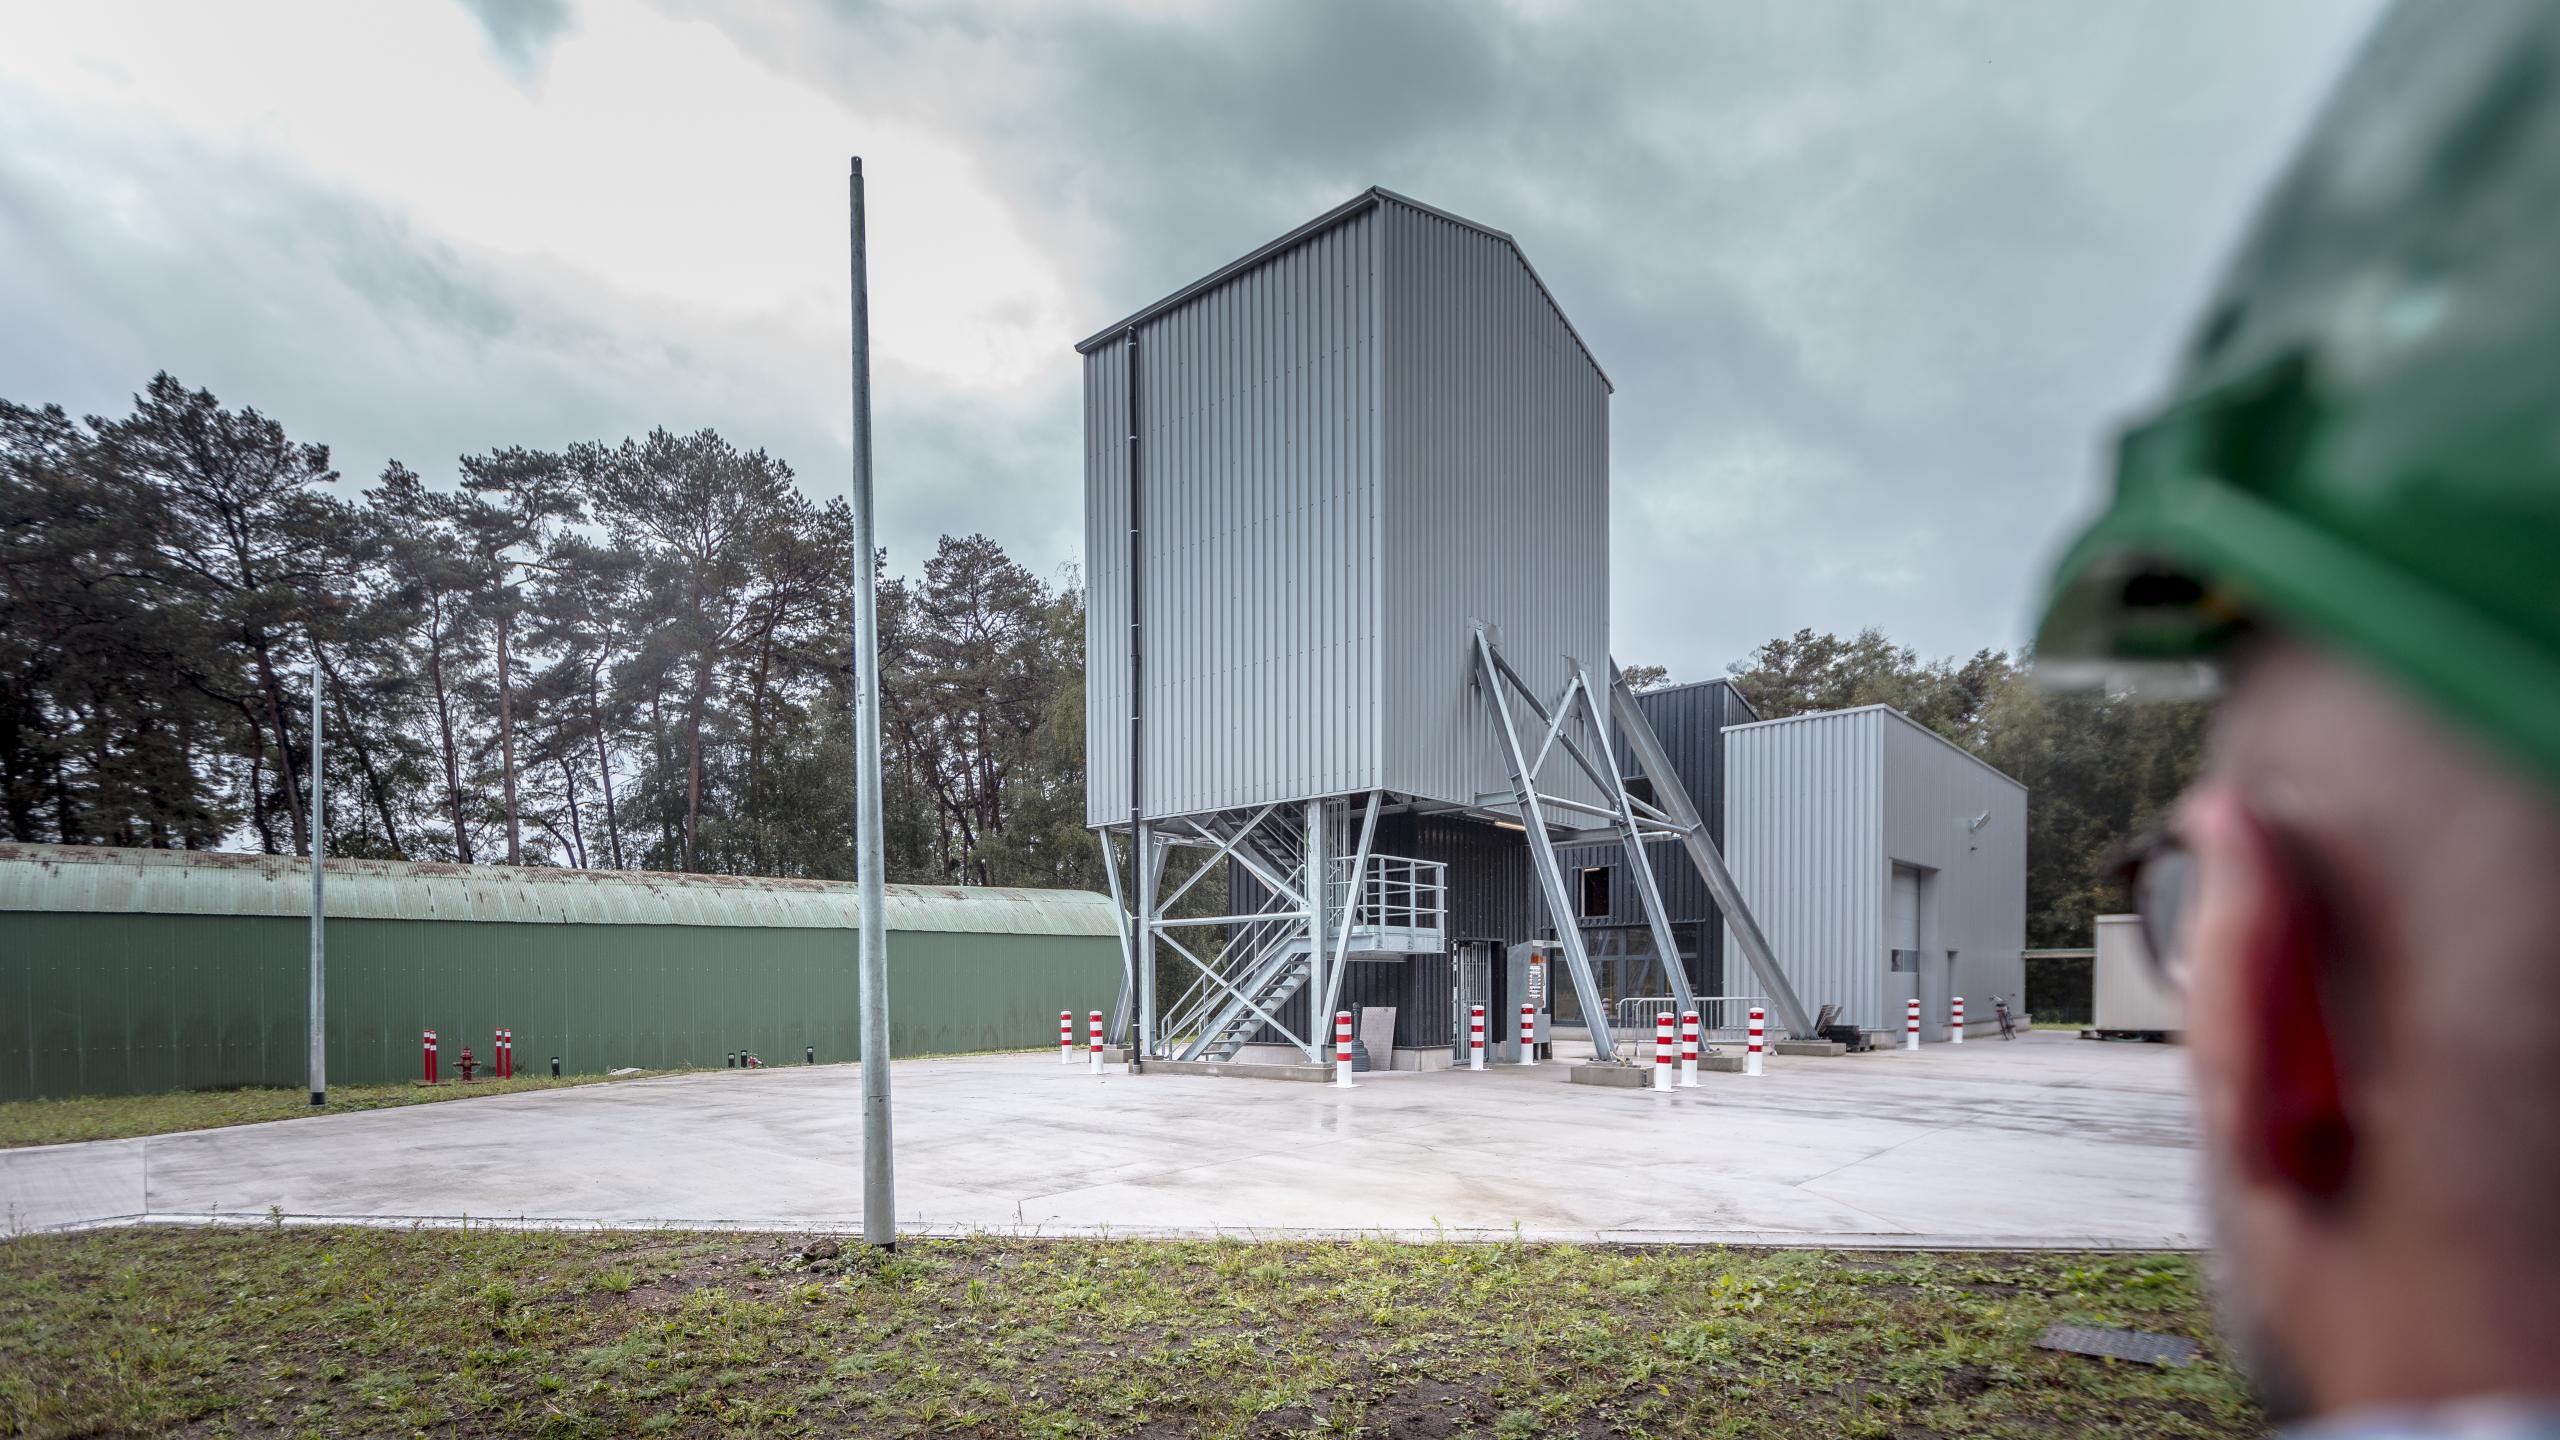
While the works in the shaft were underway, the contractors constructed the new hoisting building. This hoisting building replaces both sheds and is kept free of frost by blowing ventilation air from the shaft into it.
Step 7: Installing the hoisting system
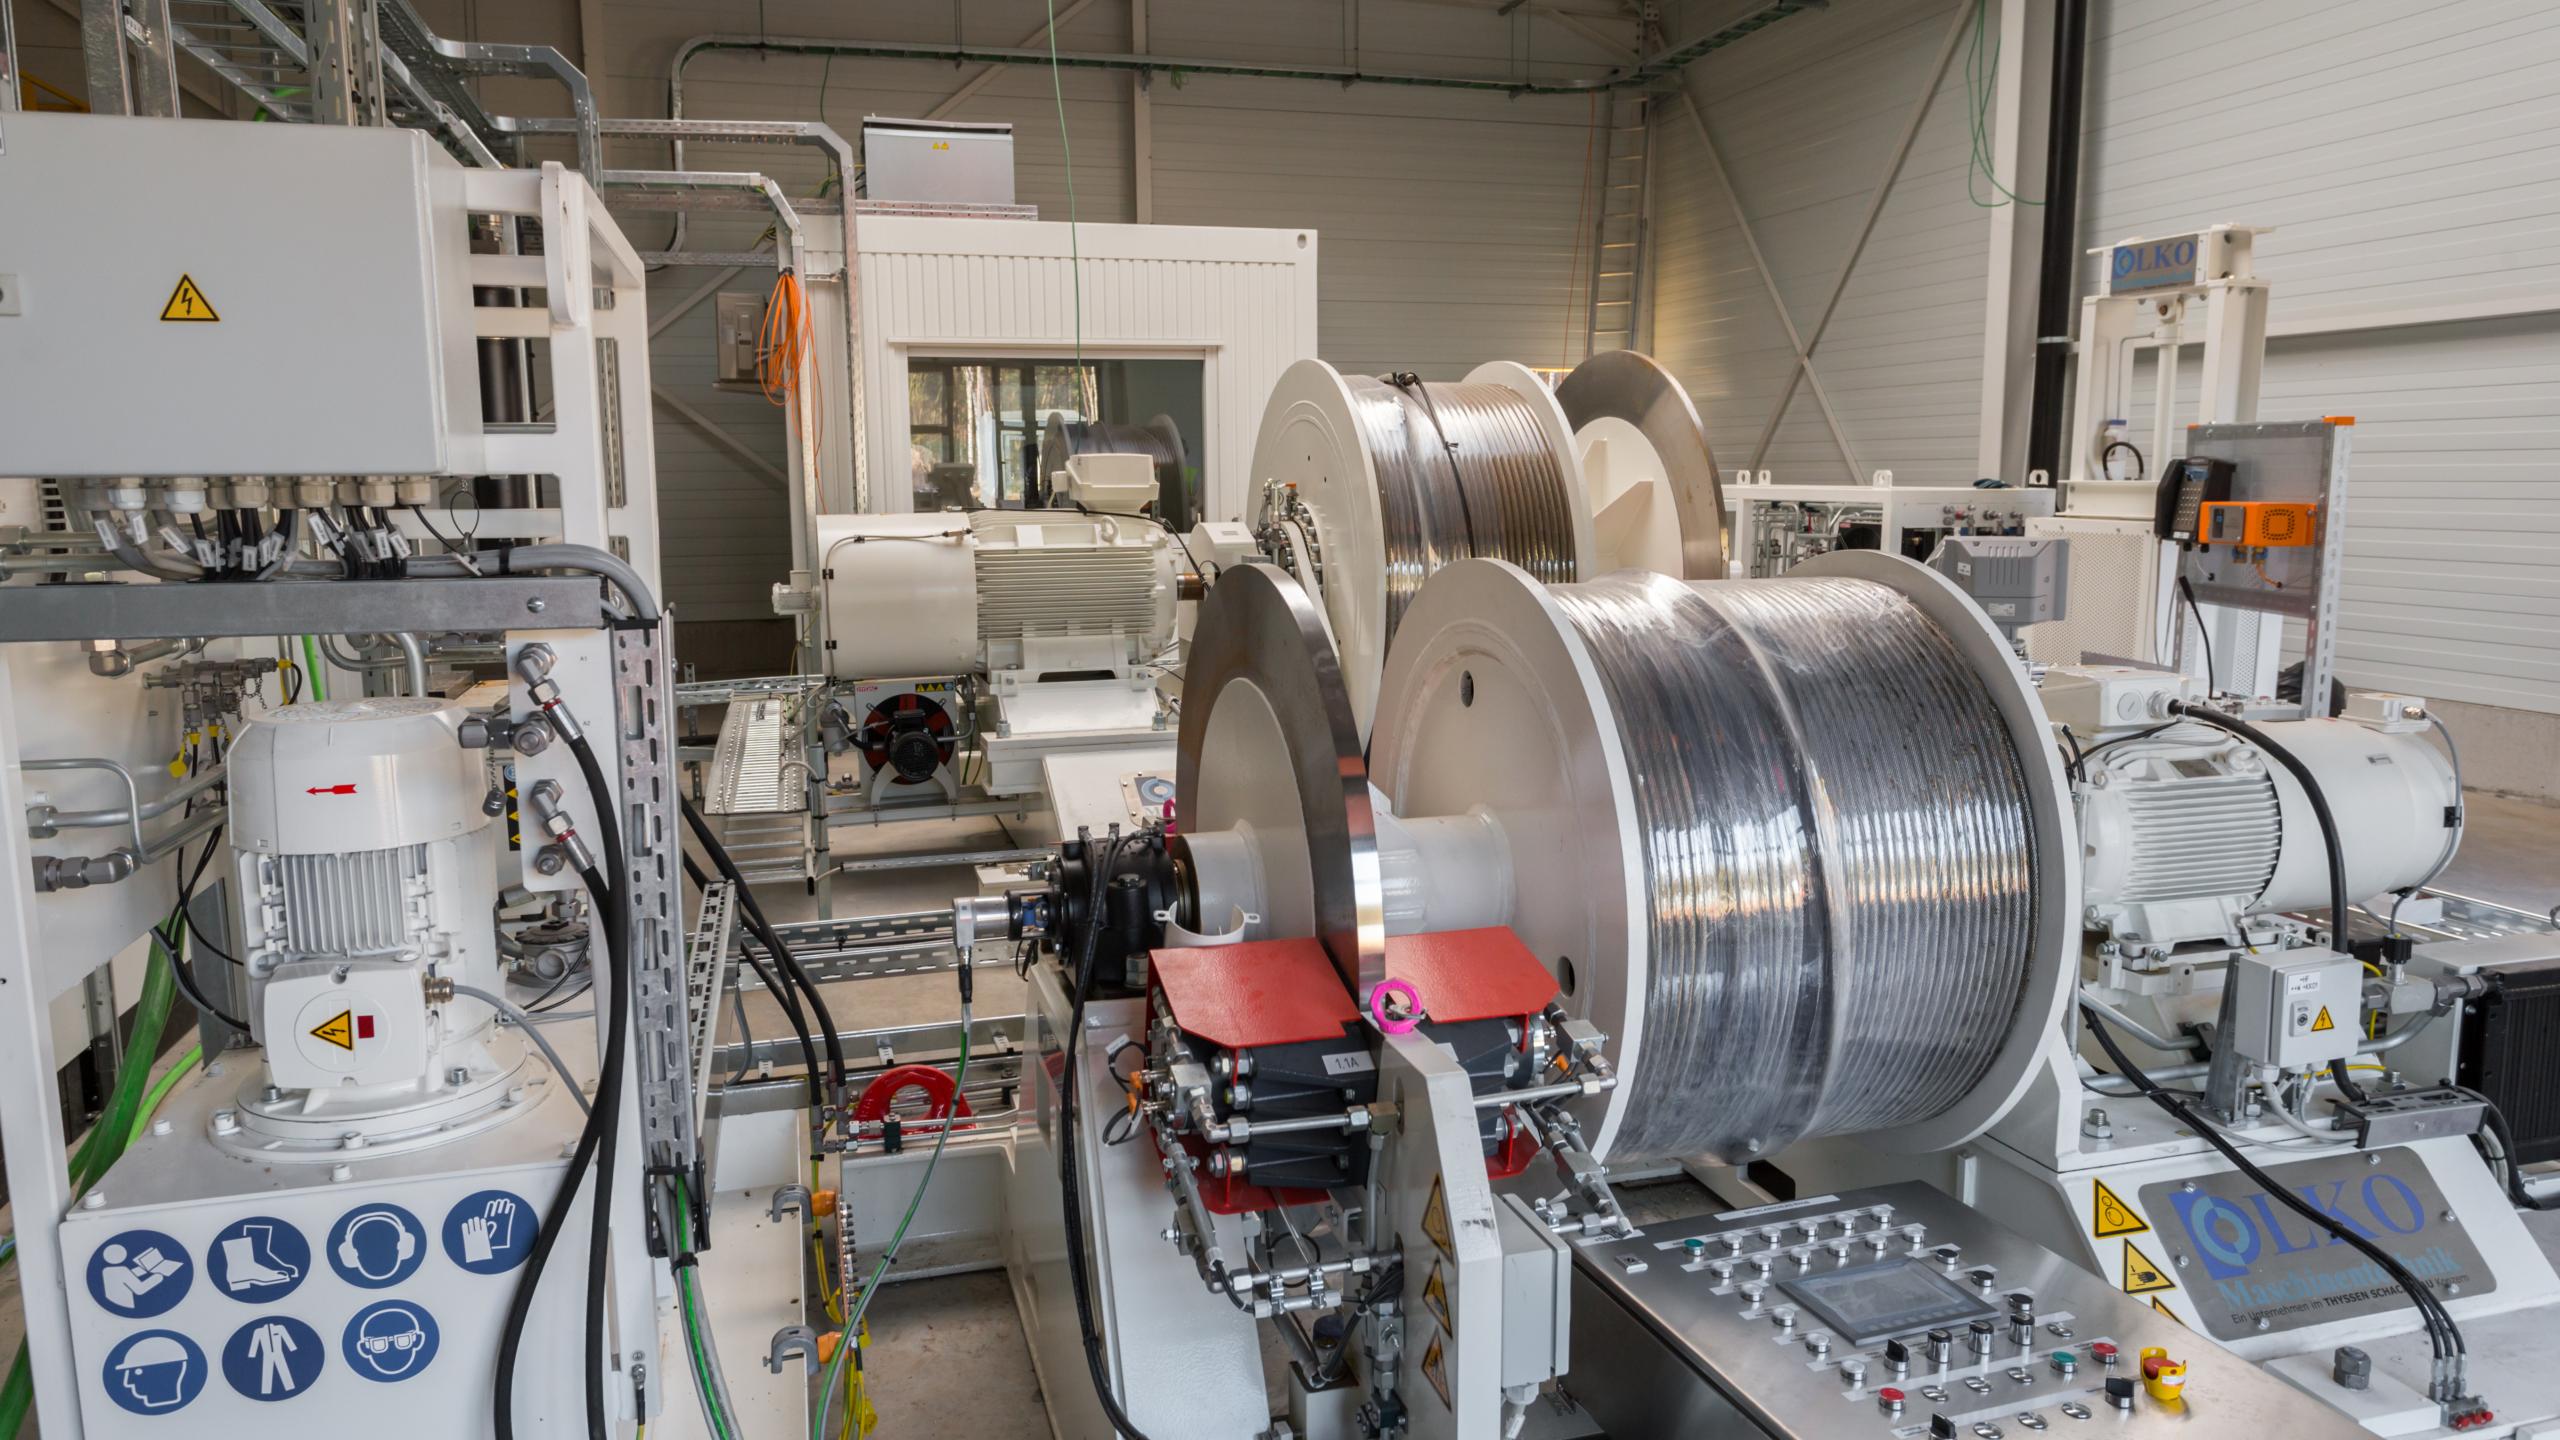
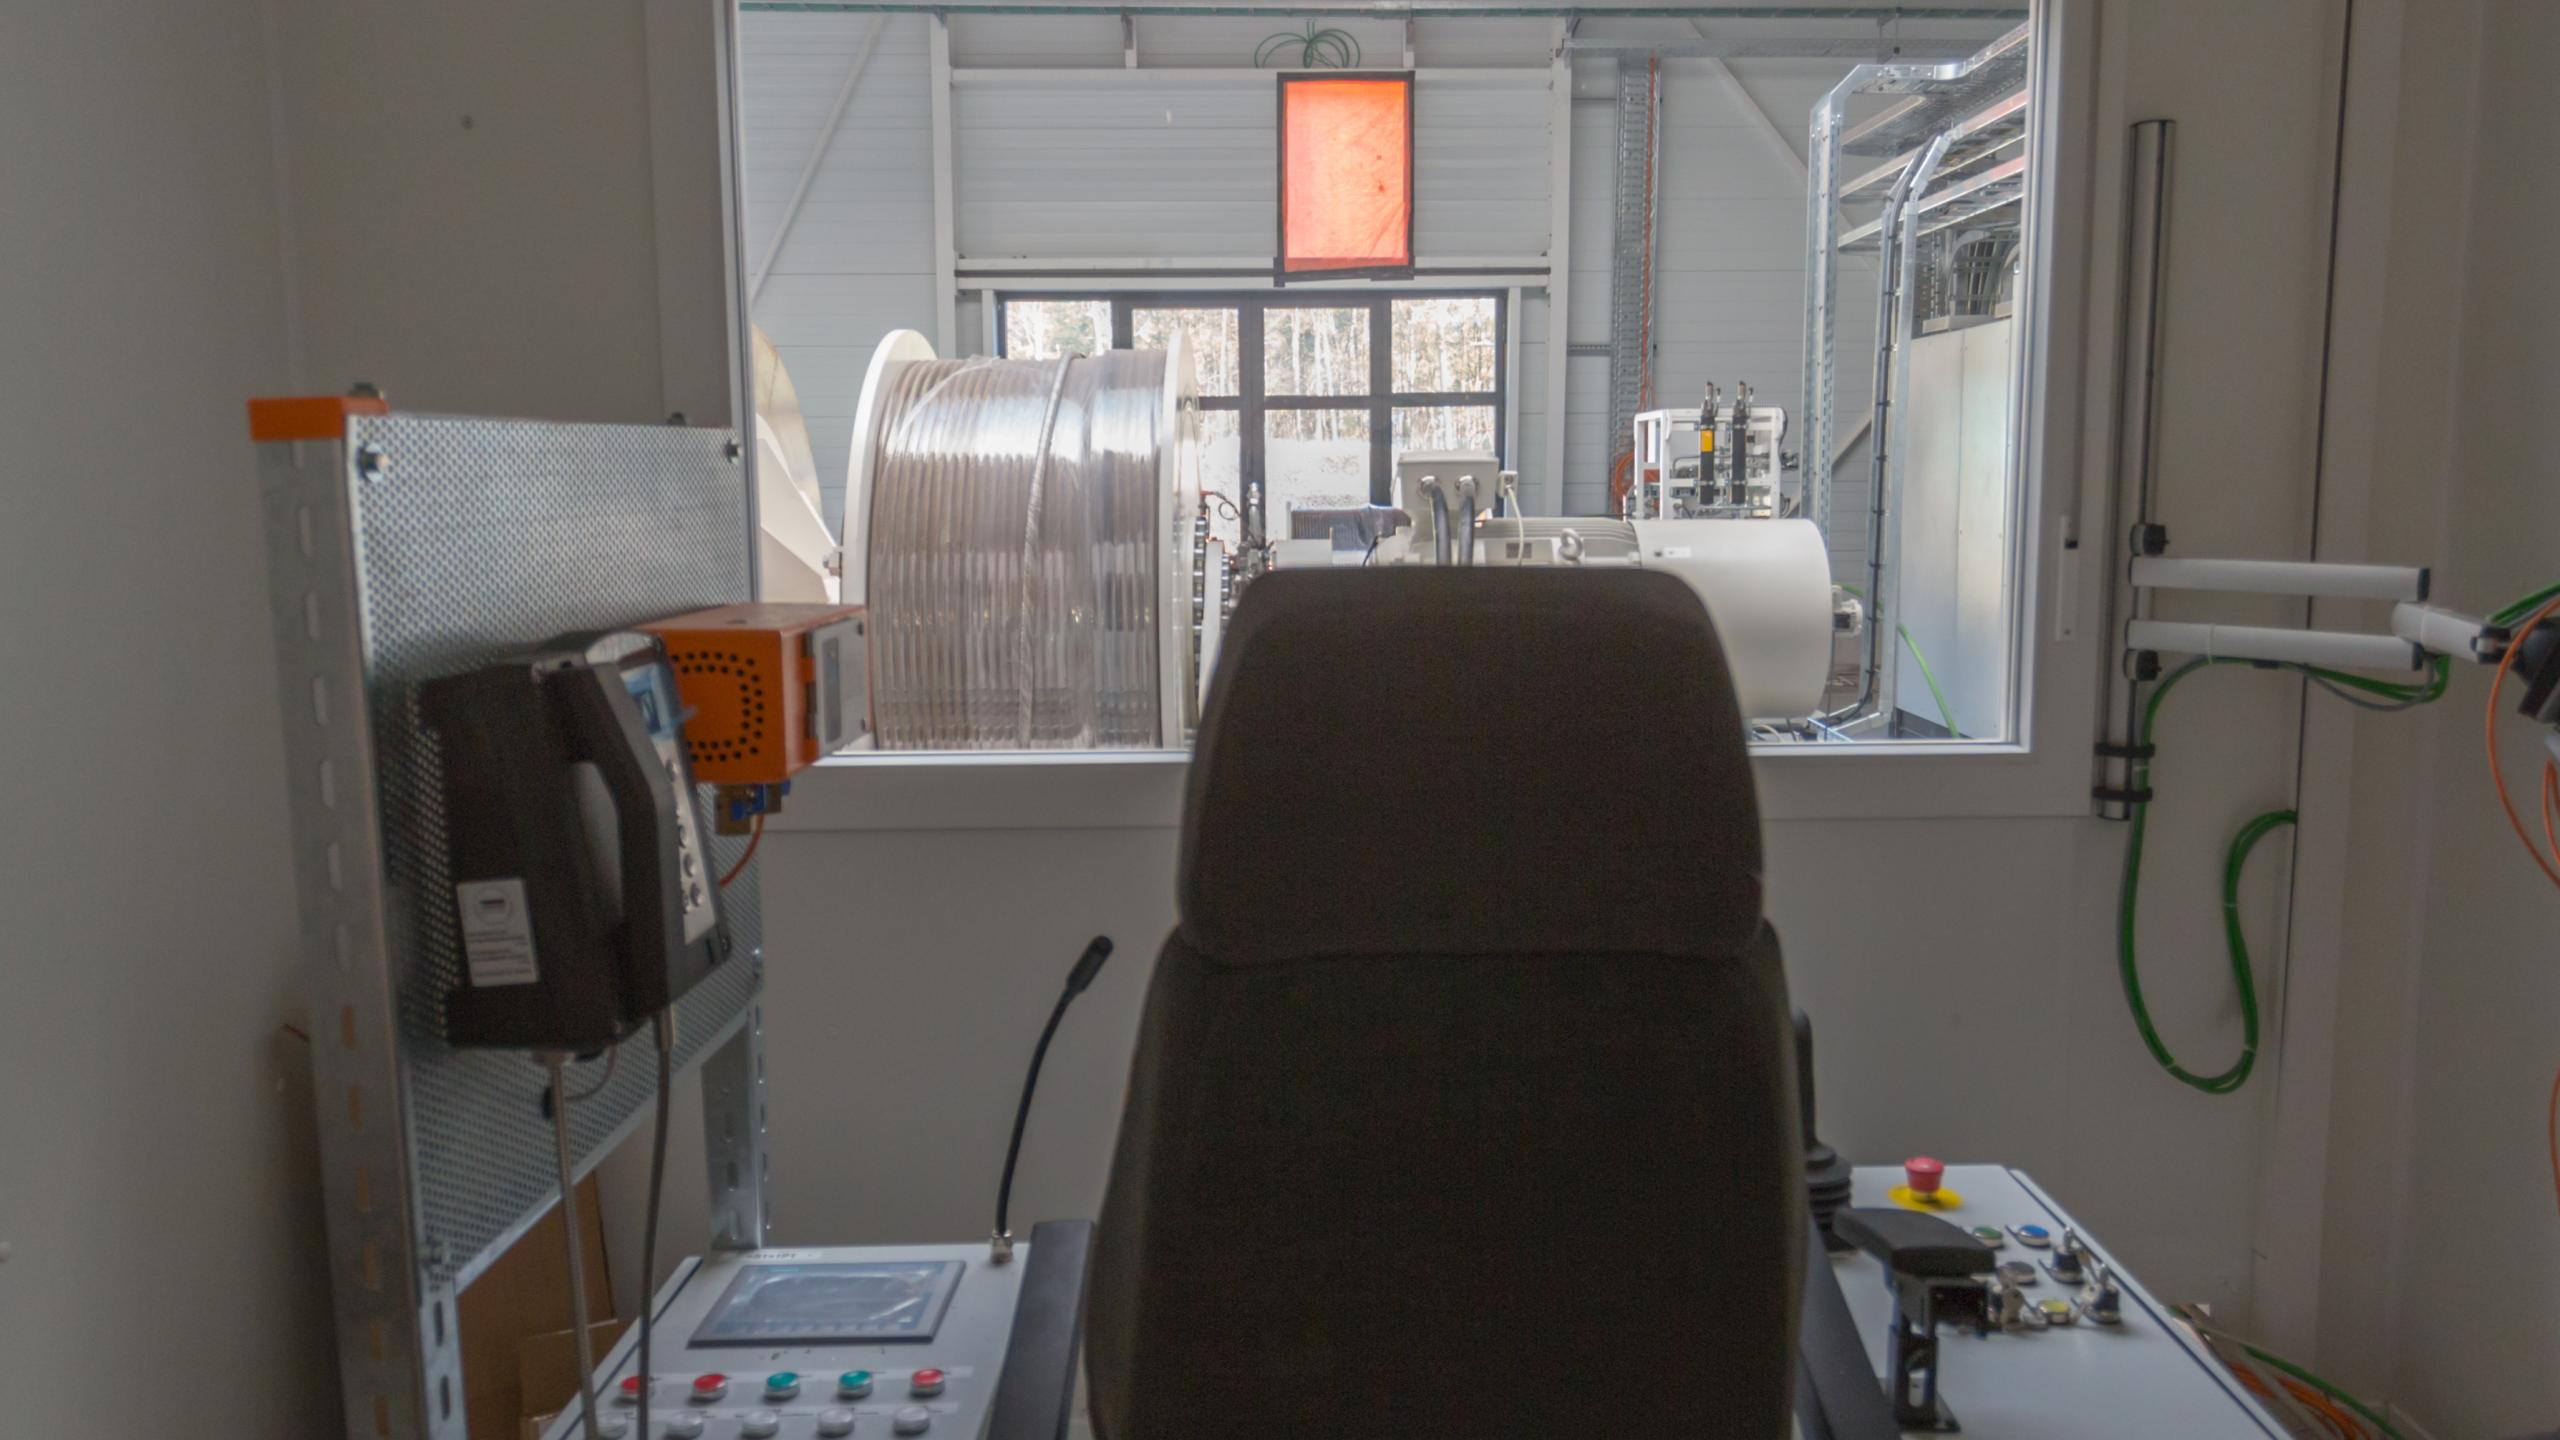
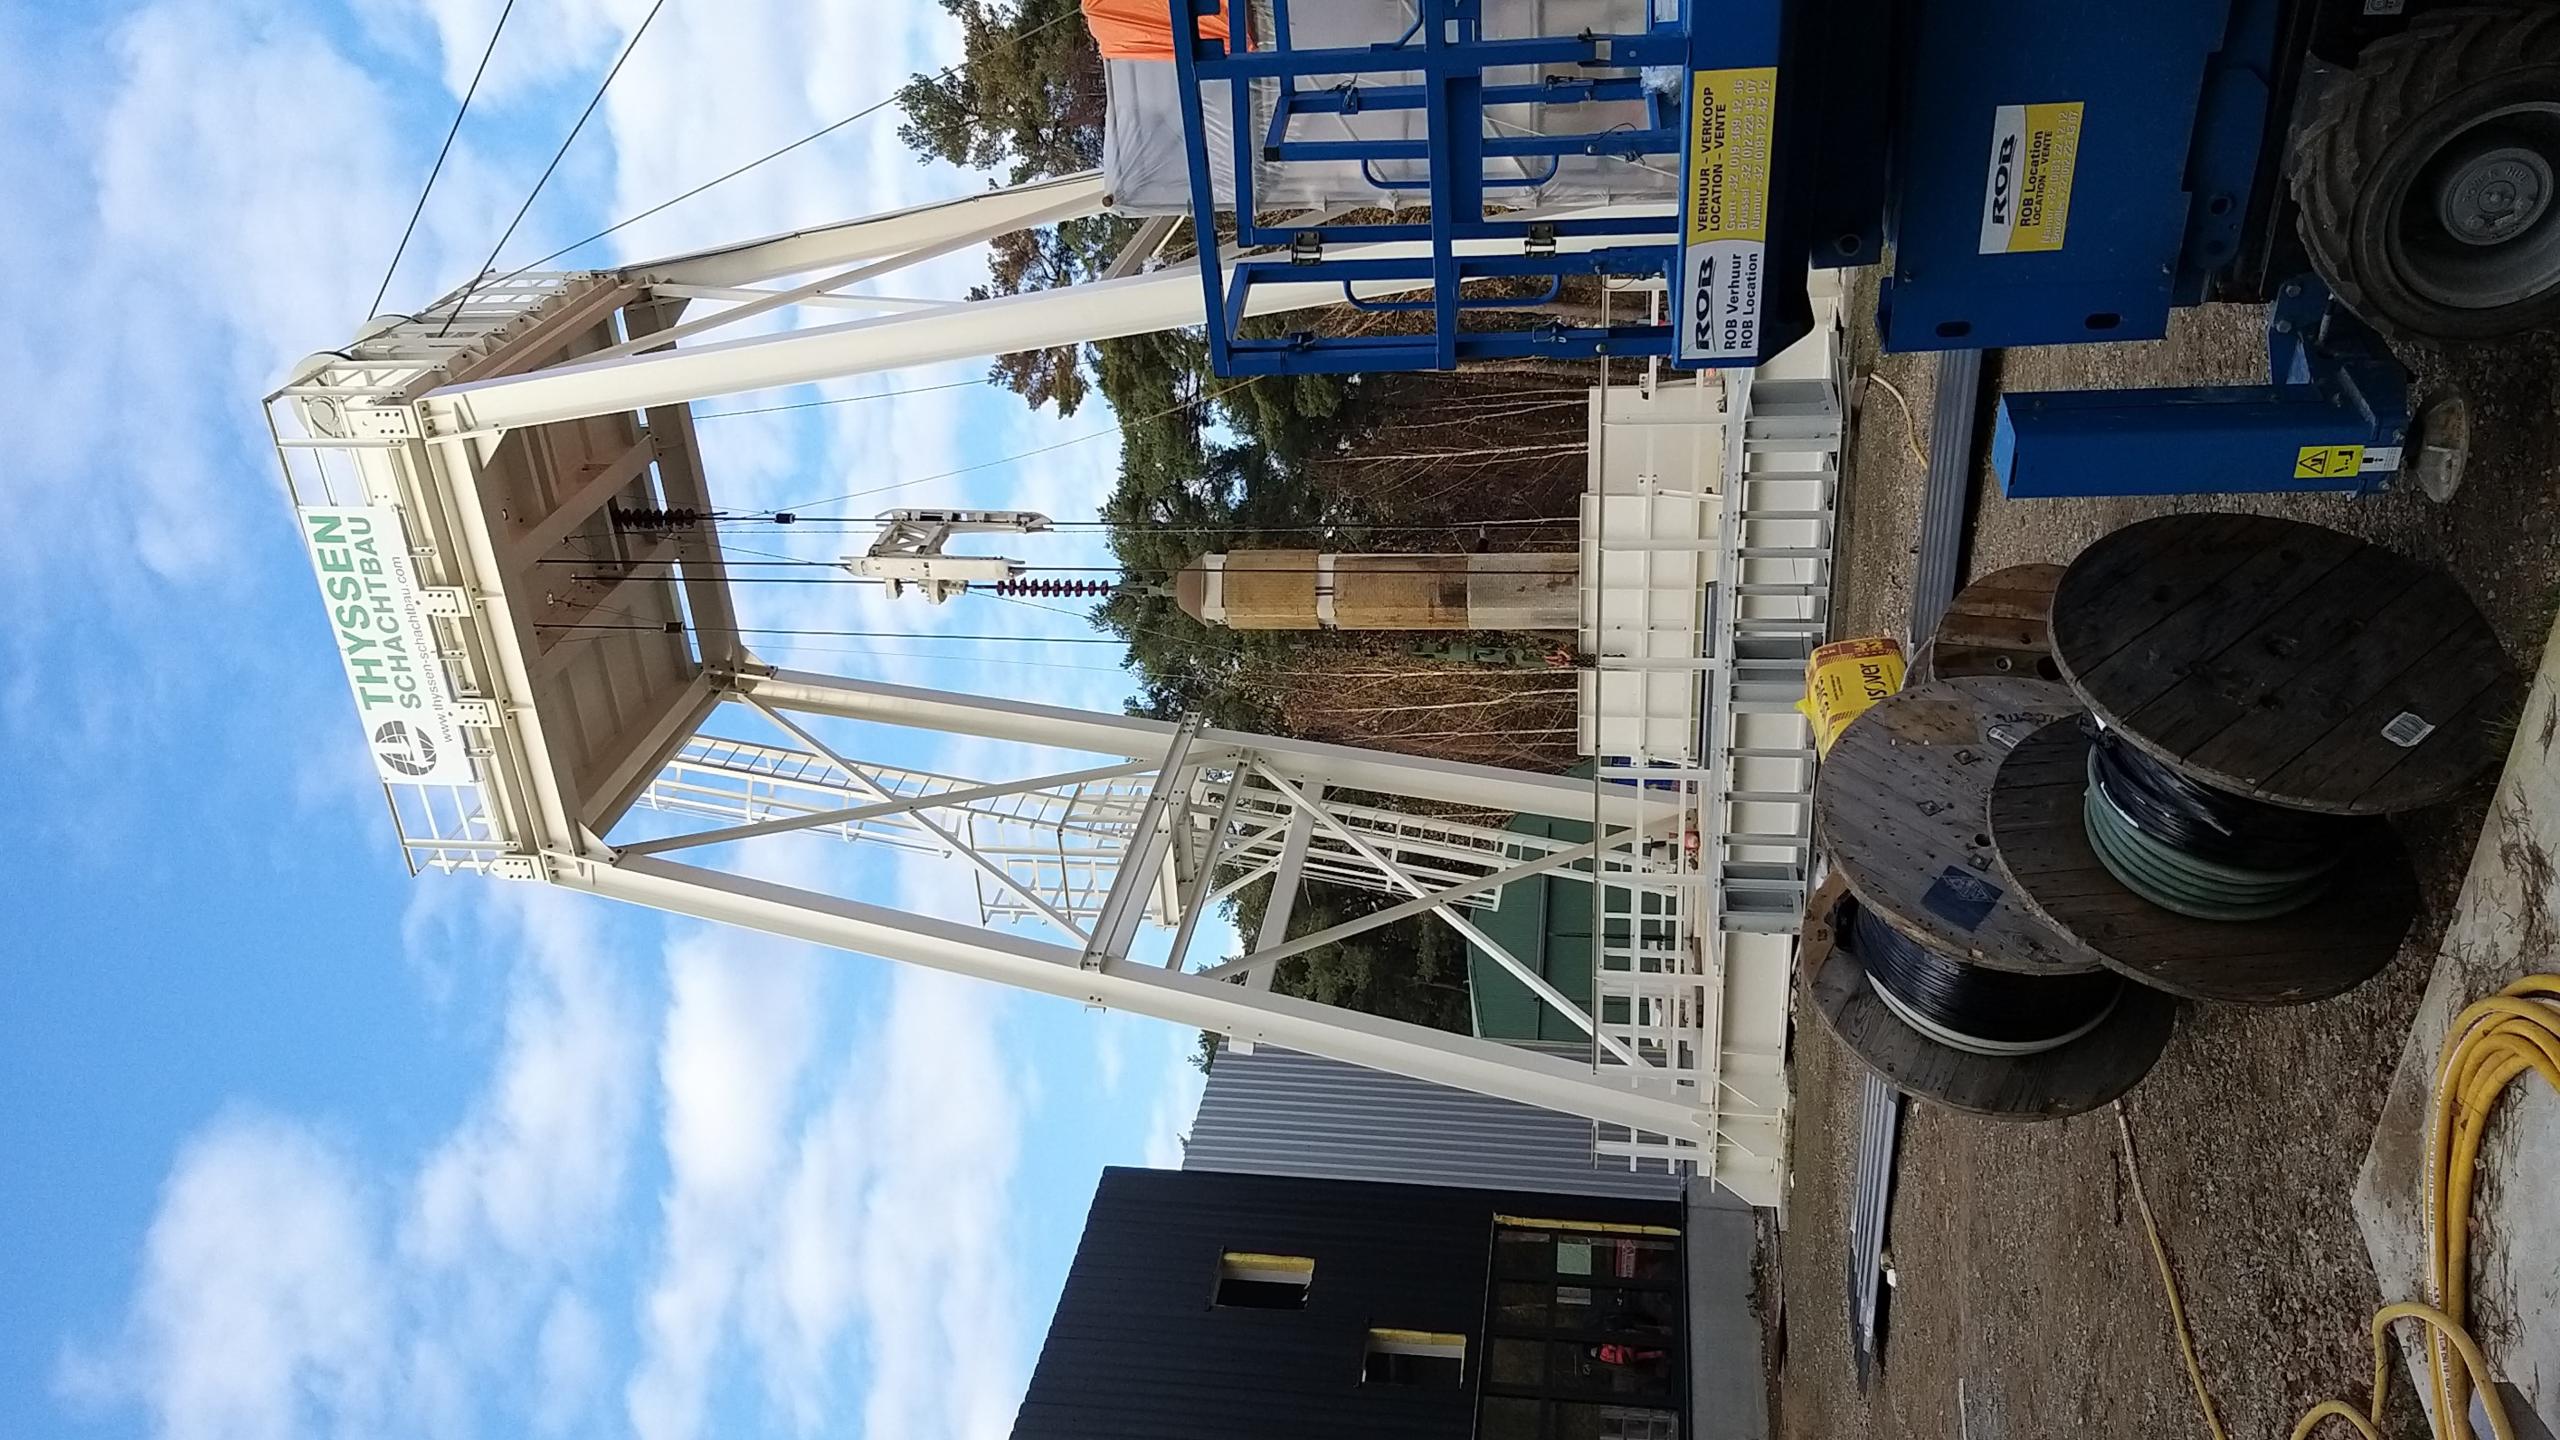
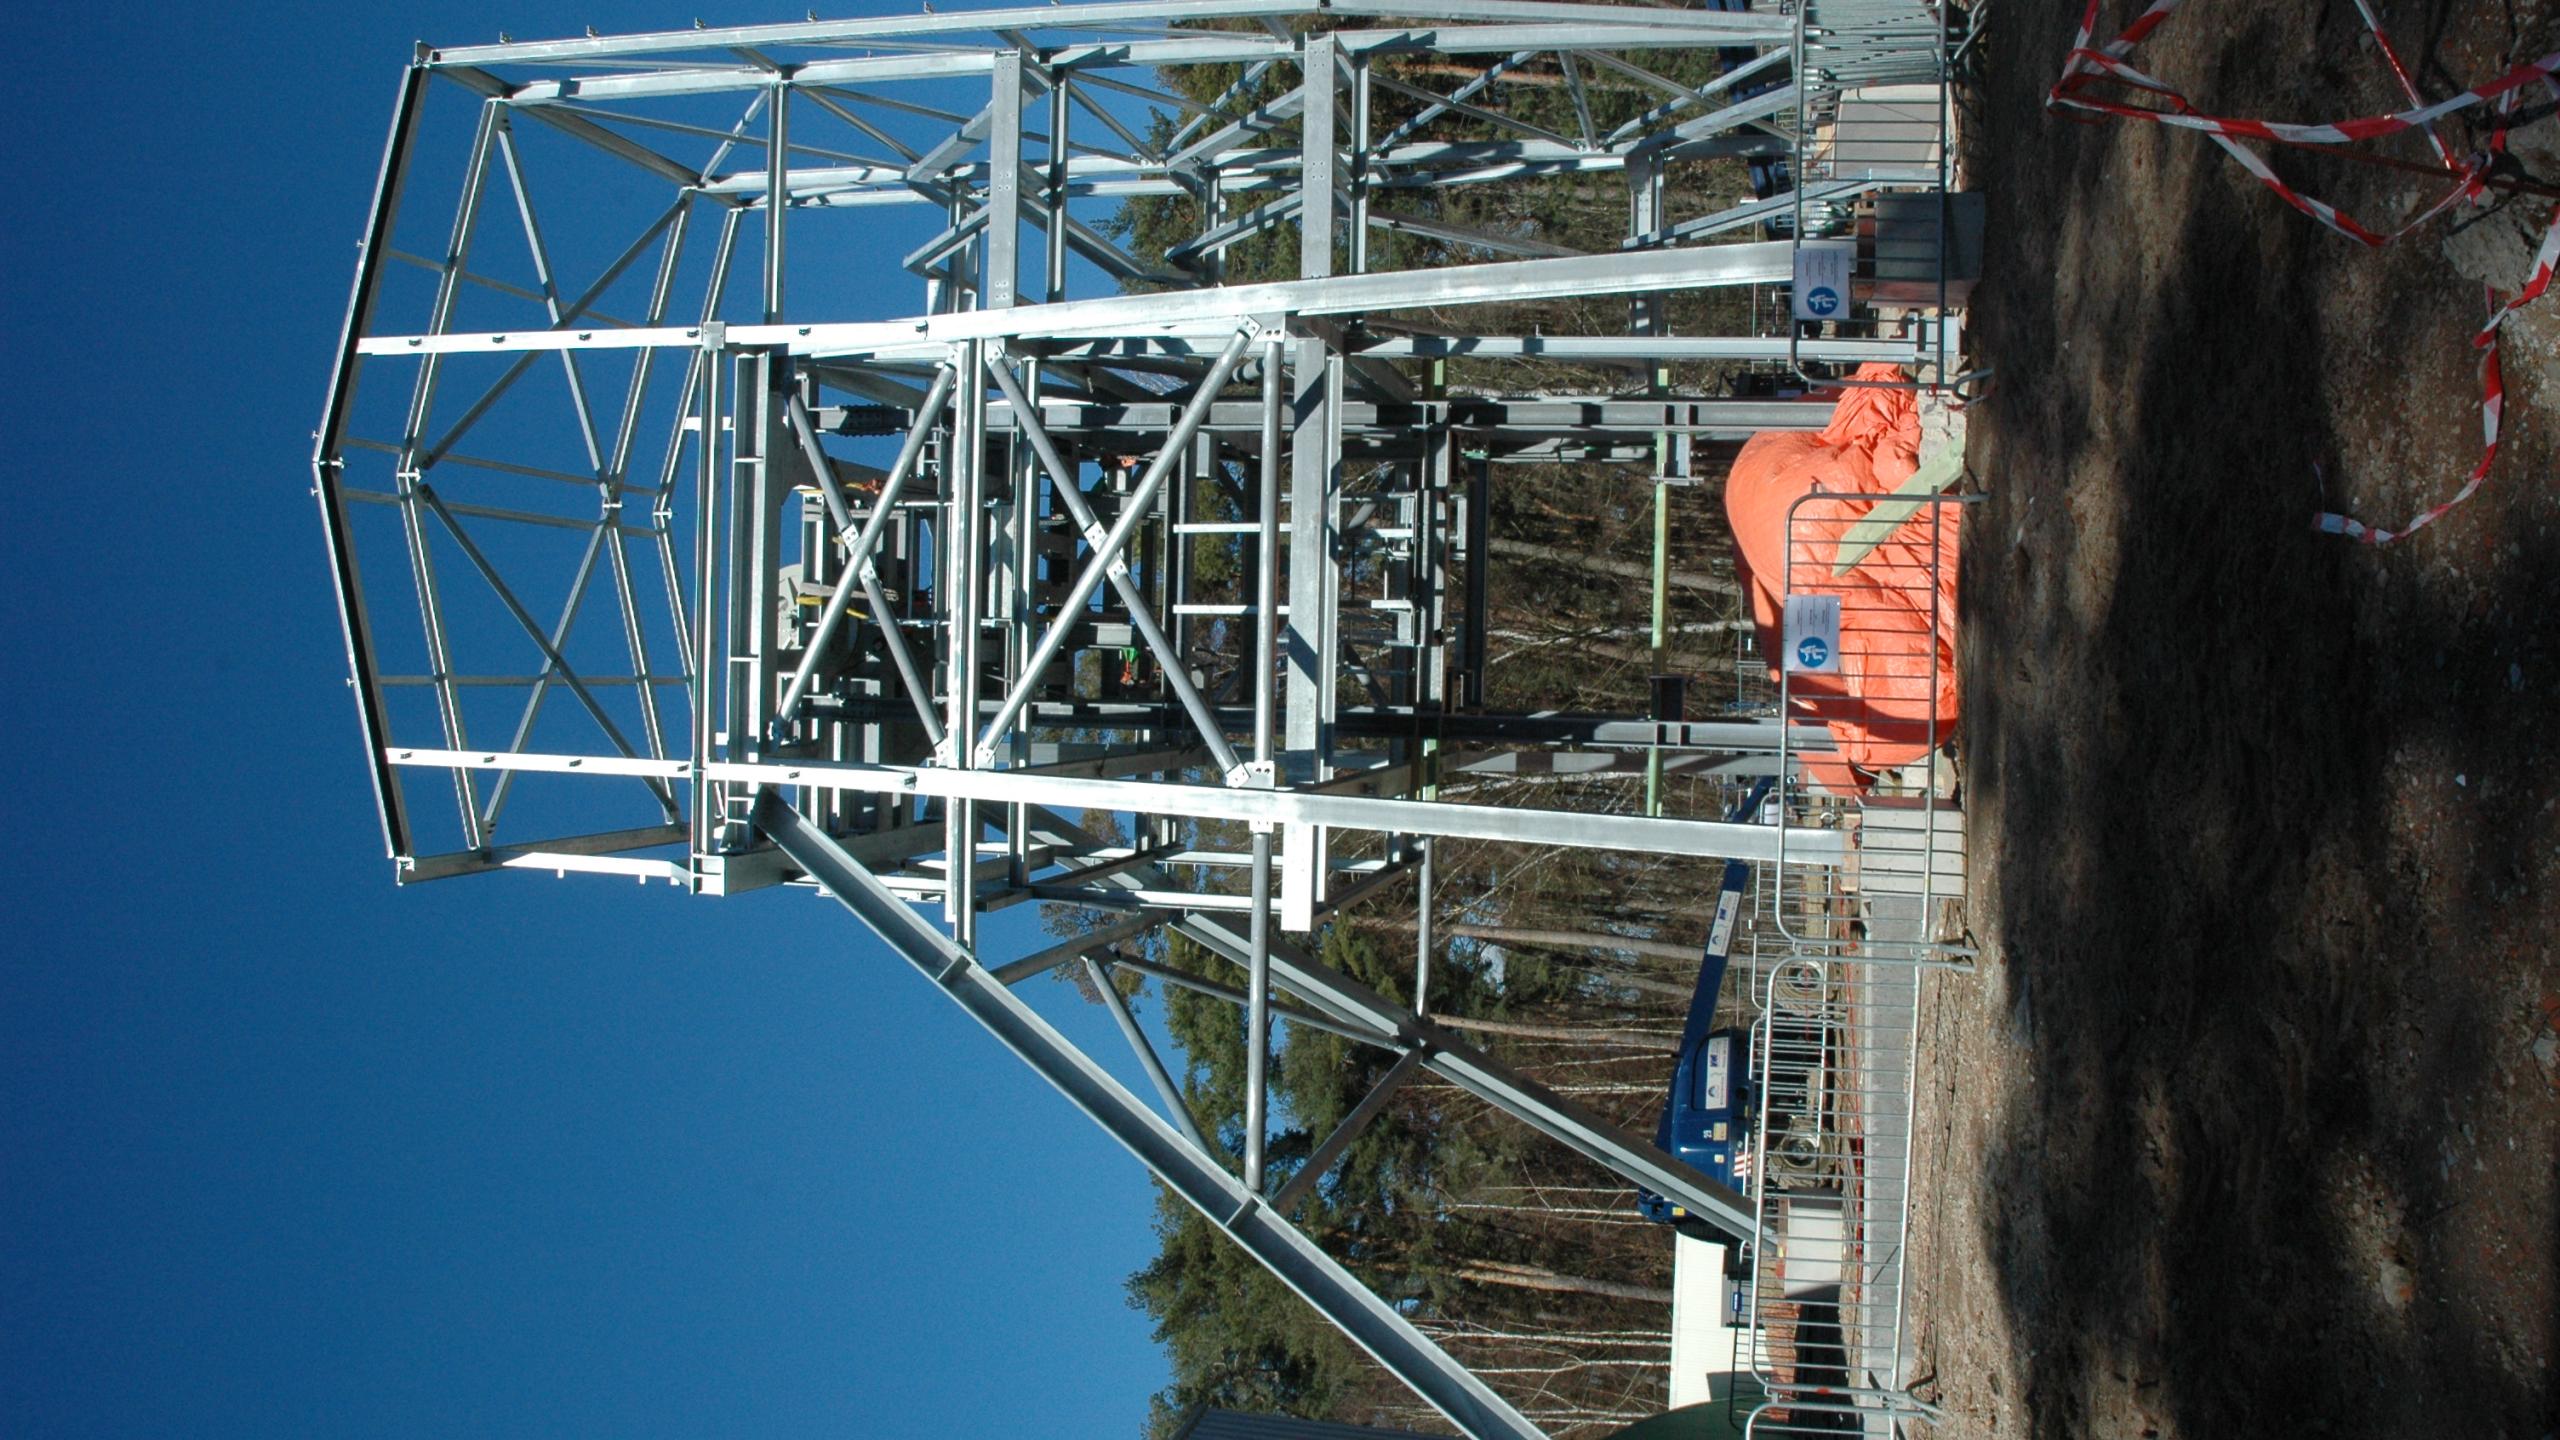
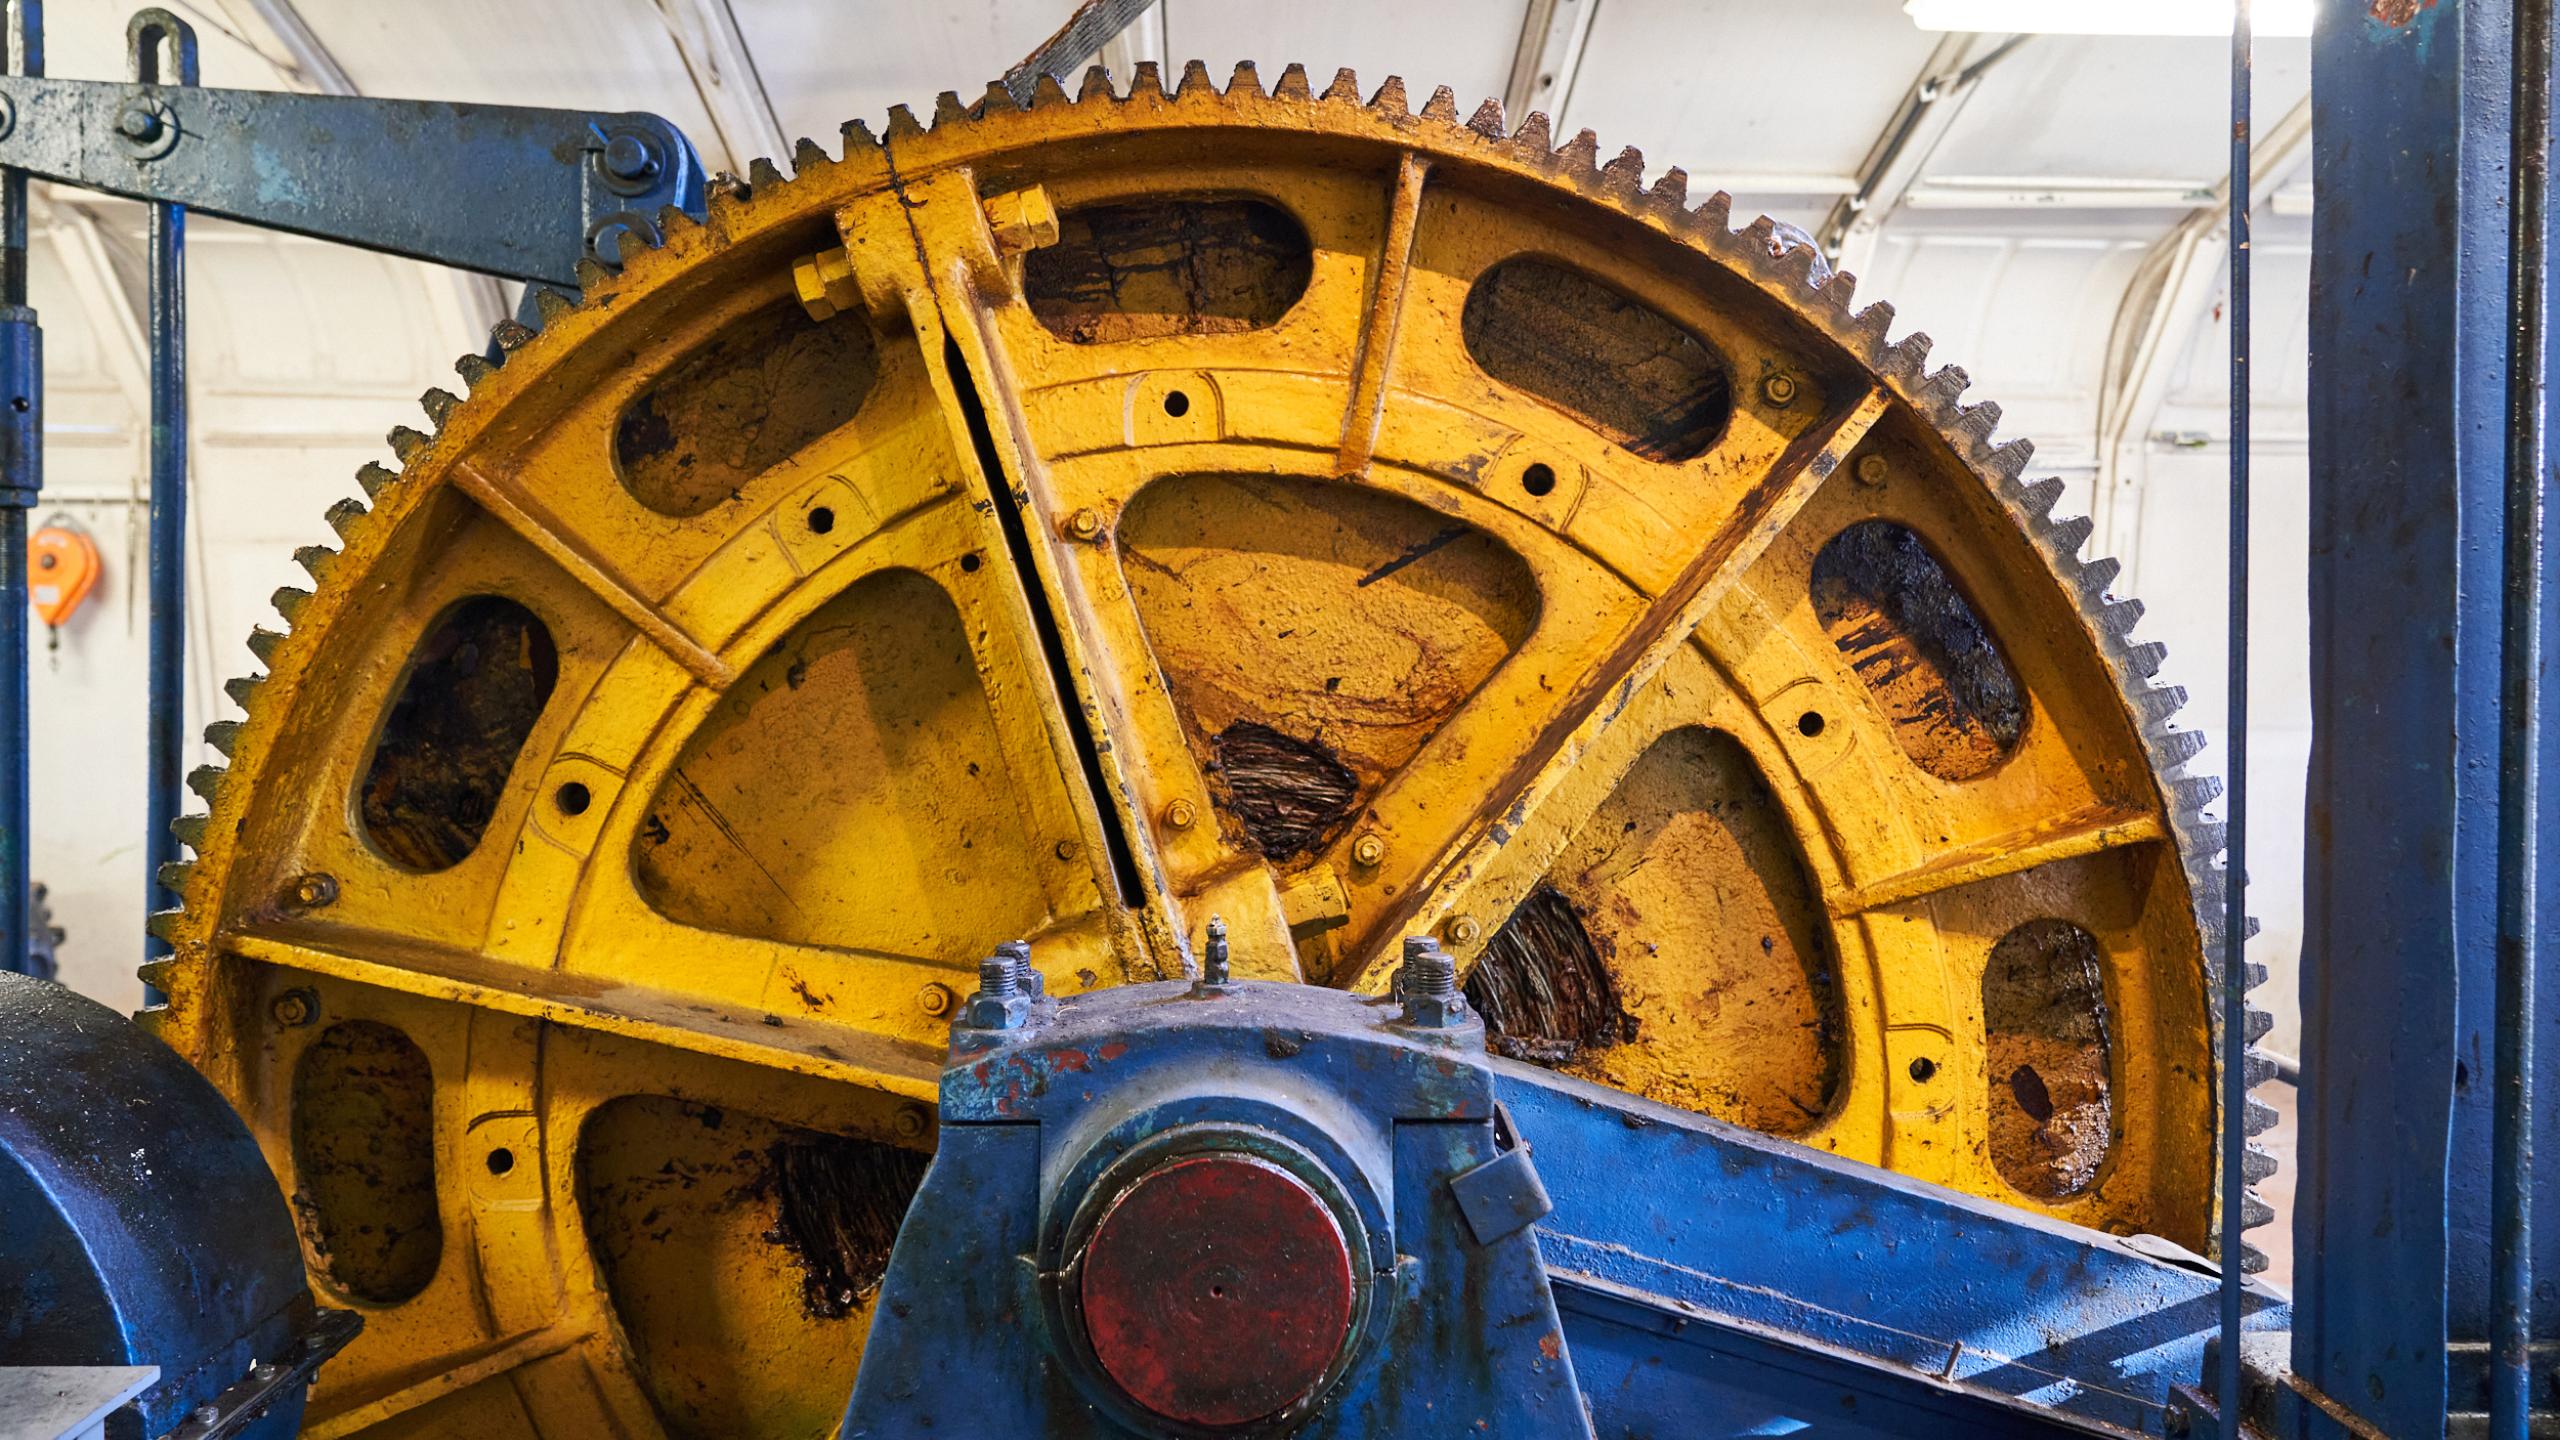
Finally, the contractors installed the new hoisting system: the machine that is driving the hoisting system, the cable from which the hoisting cage hangs and the tower to carry it all
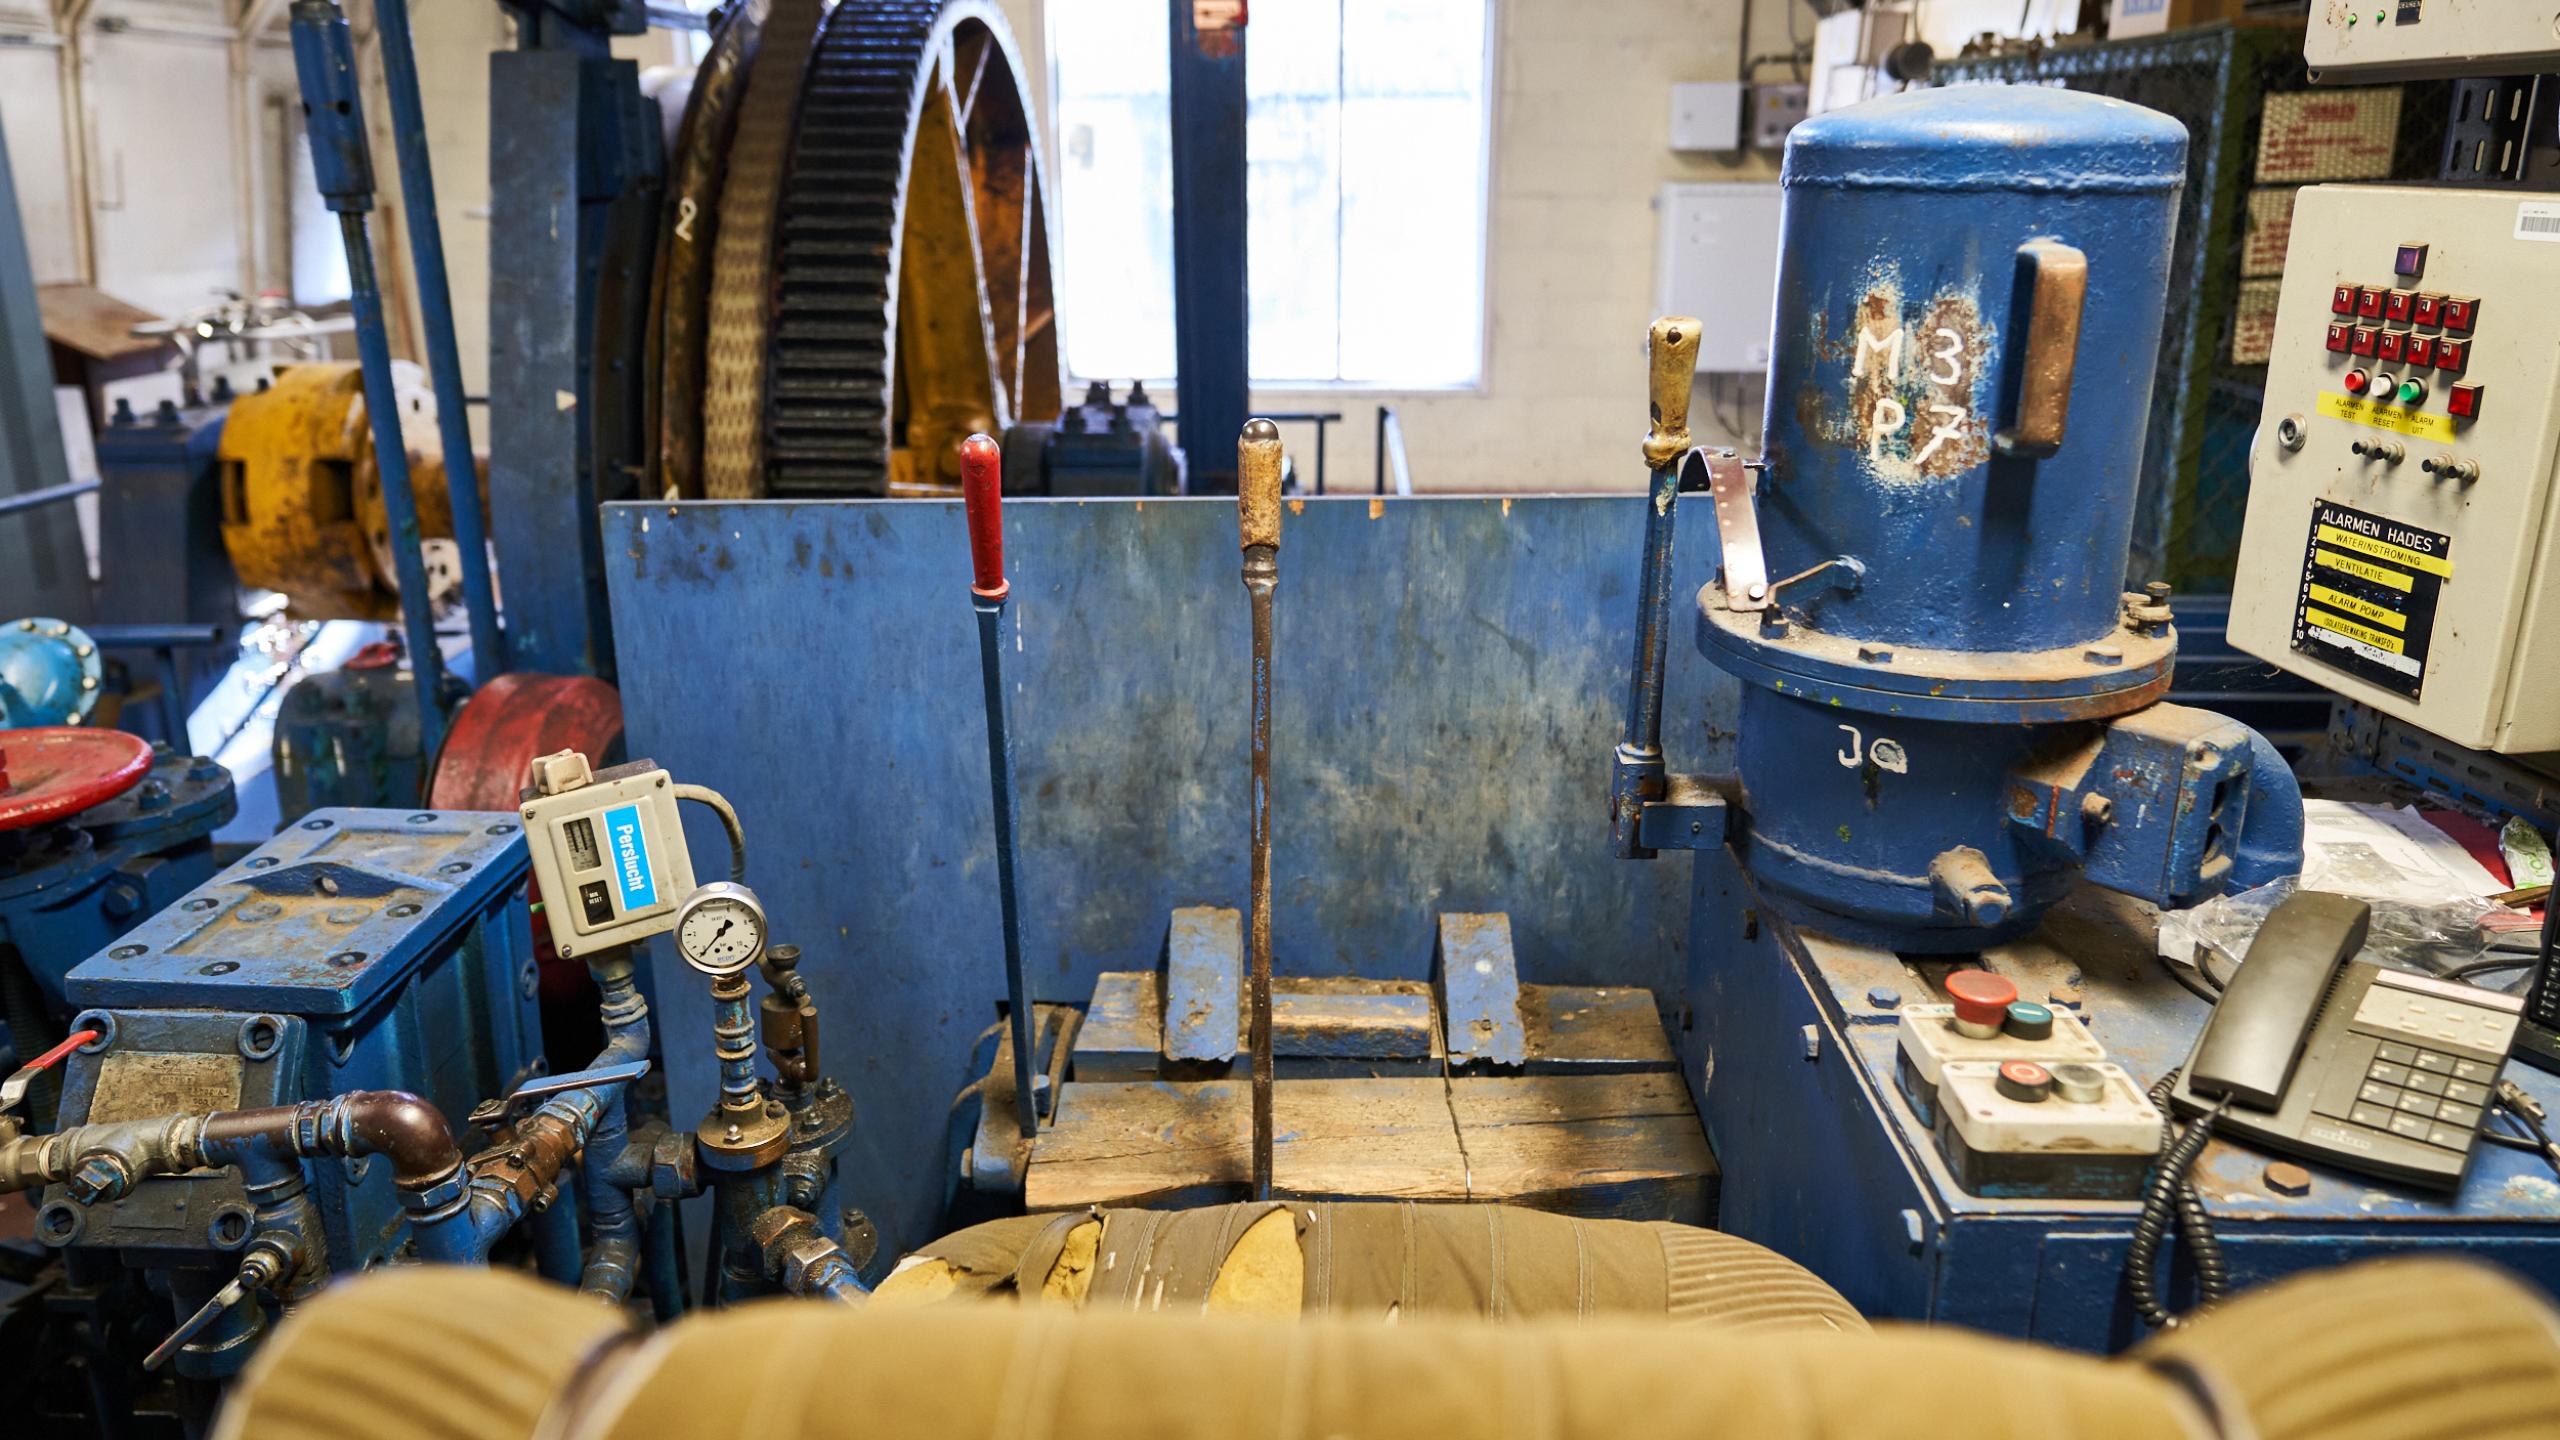
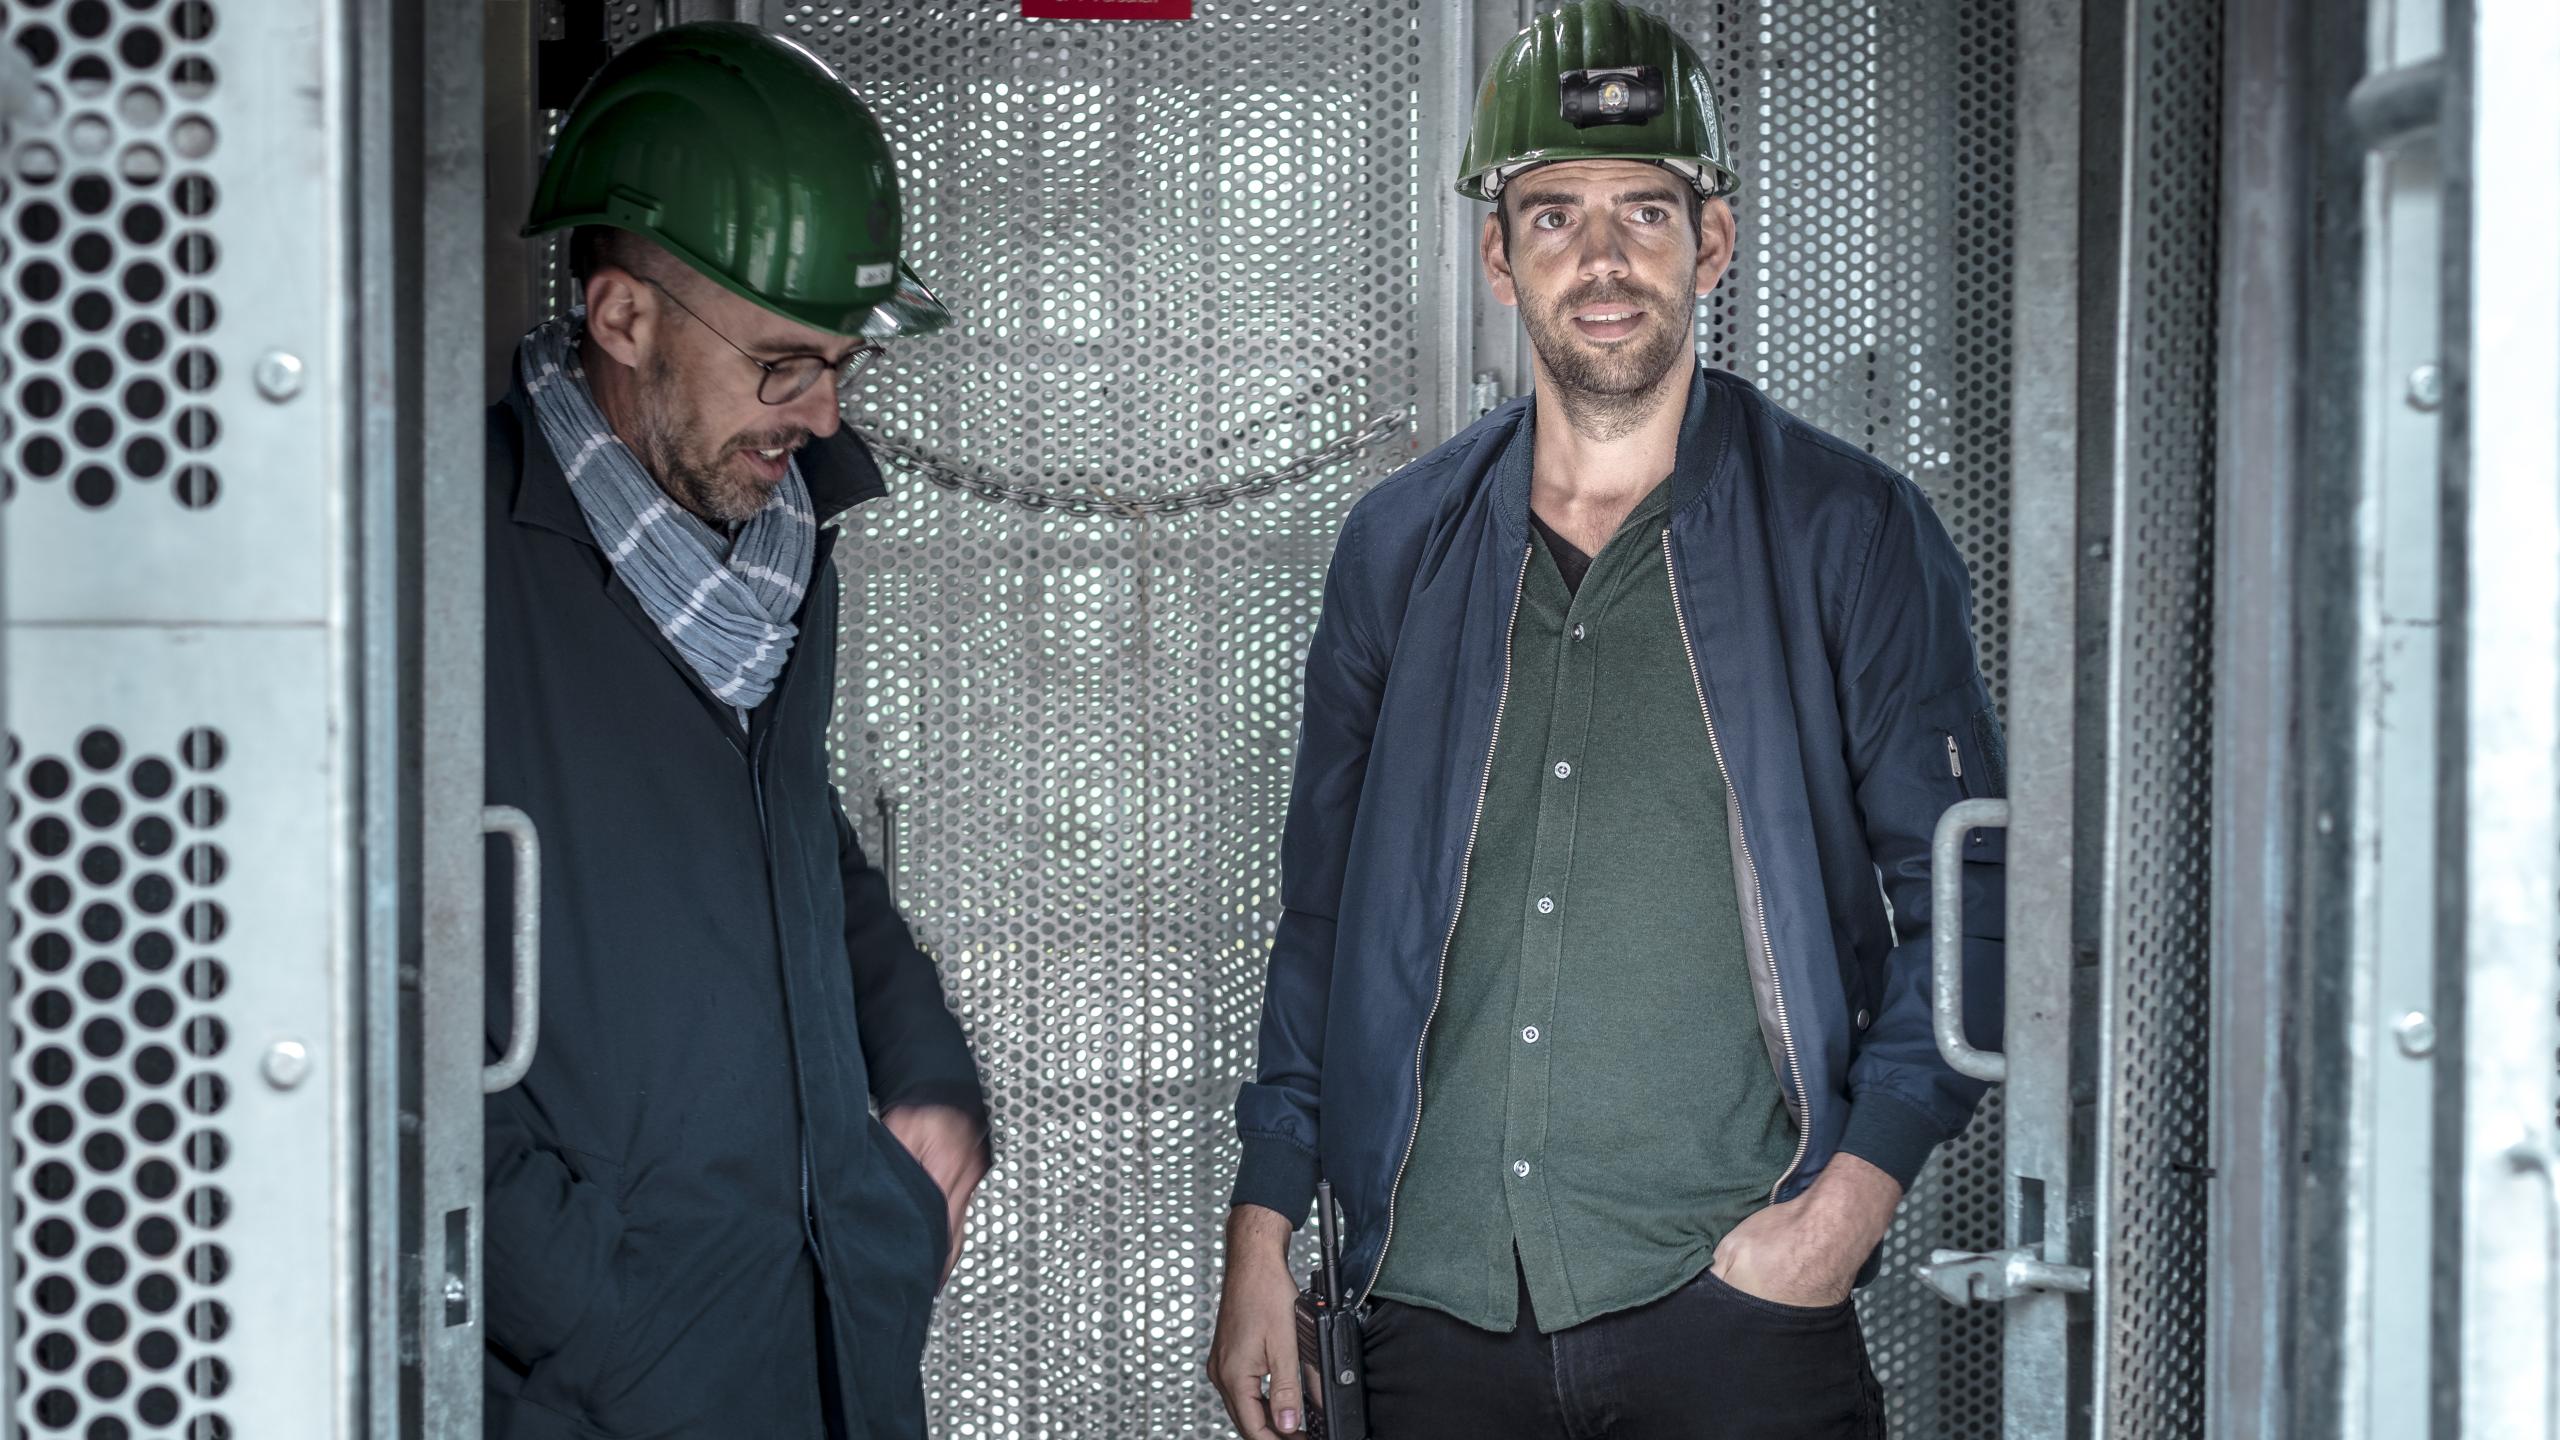
Have a look at the photos of the renovation project, from the old hoisting installation to the fully renovation, brand new system.